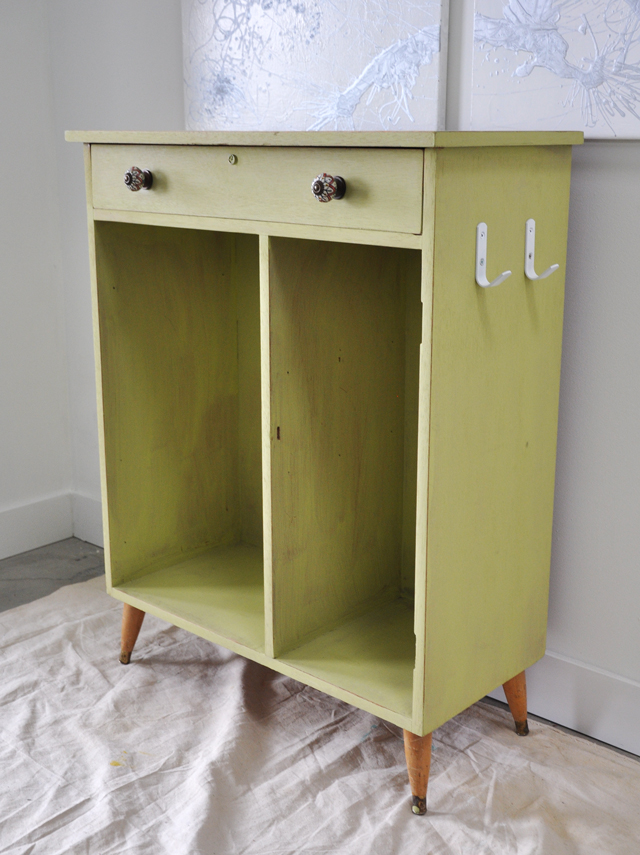
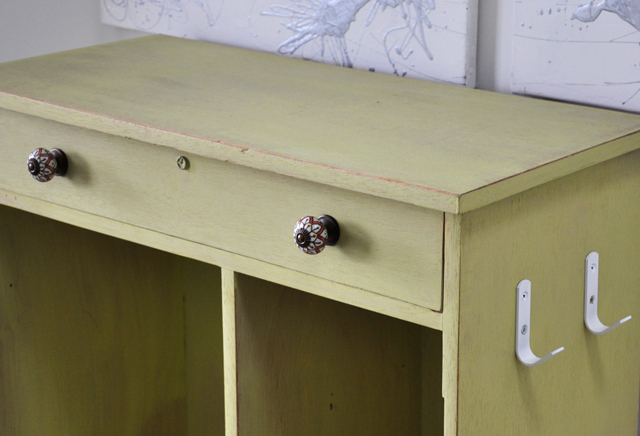
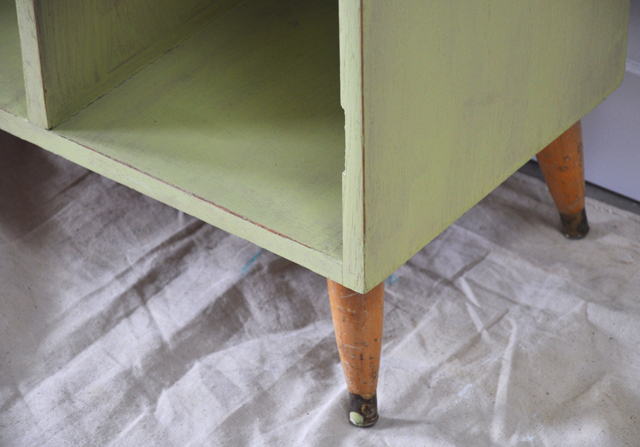
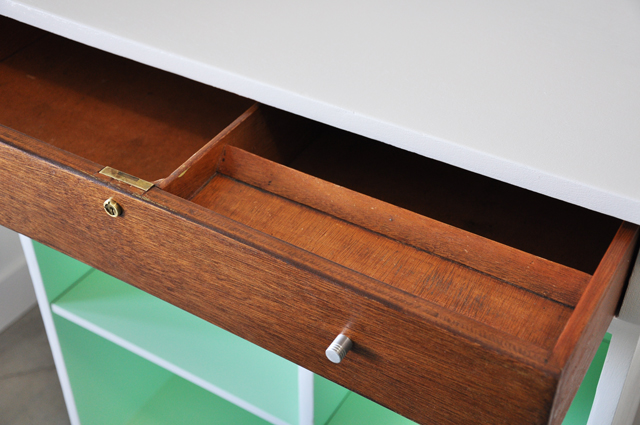
One thing that really bothers me is when someone takes a Mid Century style piece of furniture and applies a shabby chic paint finish to it. Modern + shabby do not mix! This vintage cabinet was one of those disasters, lightly brushed with a weird green, the door had been removed on the right side and the notches for the hinges were left behind. Ugly white hooks were added to the side for functionality and that green paint had dripped down onto the legs ruining the brass finish. The only cool thing this cabinet had going for it was the drawer, the inside was crafted really well with an area to hold pens or utensils.
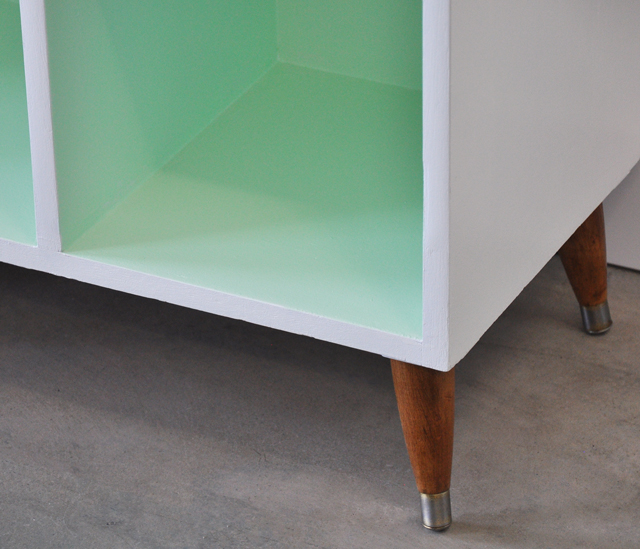
I started by removing the hooks on the side and patching all the holes. I lightly sanded the entire cabinet and Andrew aggressively sanded the face of the drawer right down to raw wood. We had to be careful because it was a really brittle wood veneer on top of plywood. The legs were also sanded down to raw wood and a danish oil was applied to both the legs and drawer front in several thin coats.
Since this cabinet was so tall it was calling out to have some shelves made to make it more functional. So we got some MDF pieces cut to fit and drilled some holes to place in some shelf clips at the desired height.
The cabinet was primed with several thin coats to build up a nice base, this was a very dry and brittle cabinet, the primer just soaked right in. Once it was primed, the interior of the cabinet was painted with Benjamin Moore High Gloss Advance in Mantis Green and the outside is Snowfall White.
I replaced the rustic style knobs with something more clean and modern, these tiny knobs are actually from an old Ikea Expedit unit, they’re the perfect size and scale for the drawer. They no longer carry them, but they have other options.
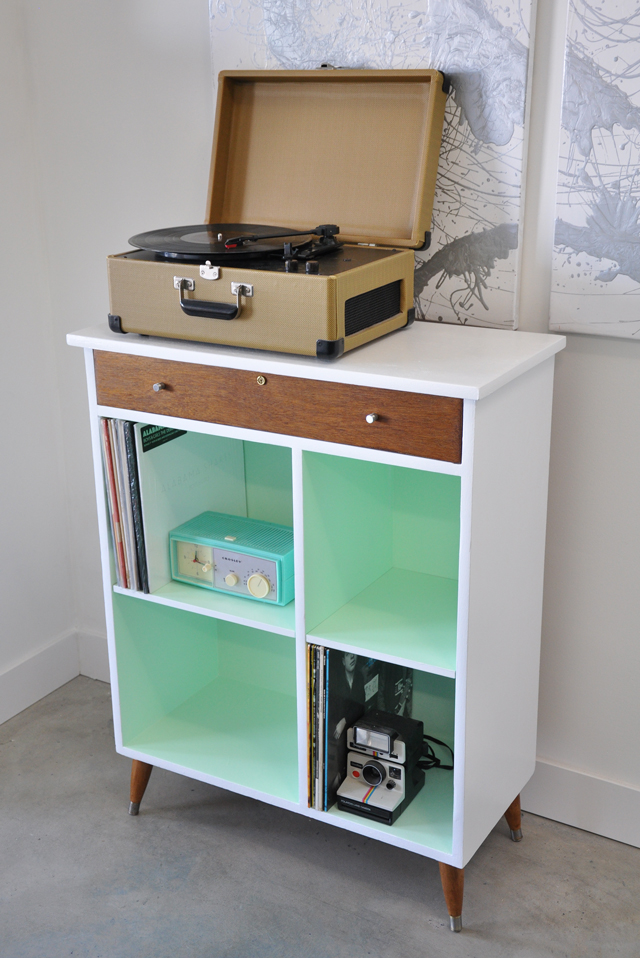
Check out the transformation from shabby to chic:
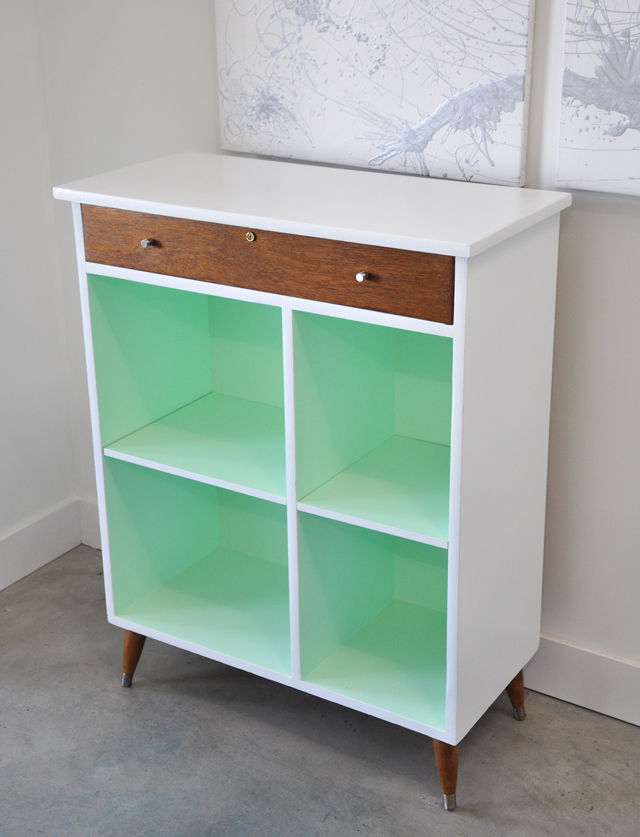
The shelves were purposely placed at the right height to create a bar cabinet or a record cabinet:


so much cleaner and better! love all the makeovers you do.
Thanks Emily 🙂
Great makeover! This piece isn’t for sale is it?
Thanks Candice, it’s sold, but there will be others 🙂
Pingback: Spotted: Vintage Cabinet Makeover | hometips.co.za
Pingback: Crafting a Green World | The home for green crafts and tutorials!
Just discovered your nifty transformations through the Apartment Therapy link, and am encouraged to try the BM Advance Snow White gloss paint on my dark wood coffee table. Could you comment if this paint holds up to surface wear, or if you’d recommend extra protection like polyurethane on table tops? (also, do you have a favorite primer?) Thanks.
Hi Julie
Benjamin Moore Advance does hold up to surface wear. I have one of my dressers in my own apartment and use it everyday. The key is to prep the surface very well and use a 3 in 1 primer. CIL makes a good one at home depot. A few thin coats of primer after you’ve done a good sand to scuff the surface and then finish with BM advance. I’d still recommend using a coaster for drinks since it’s a coffee table. Good luck!
FABULOUS IDEA ON HOW TO DO ON A LITTLE INCOME., THEN MAKING IT GREAT!!!!
Hi Nicole!
This is fabulous! I love it!
I’m planning on trying to paint an old cabin I have in a similar way and I have few questions:
1. Would shabby chic paint also be good for this?
2. Do I paint the inside or outside first? (the white part or the green part)
3. say I painted the inside first, how do I protect it from getting stained as I paint the outside? Would ducktape be OK or would it take off the paint as I remove it?
Thank you!
Shahar
Hi Shahar,
Unfortunately, I have no experience with shabby chic paint. Paint the white first and then do the green. Use a small foam roller to get a nice clean line, touch it up afterwards with a small paintbrush. Use painters tape, not duct tape, but wait for the paint to dry completely before applying it, otherwise, it can peel. Have fun experimenting, don’t be afraid to try it!
So im done and it came out great! I love it! Thanks a lot!