This Summer I discovered the awesomeness that is canning fruit and vegetables. It’s like making little jars of Summer to open during the grey days of Winter. I do not know how I went through life without doing this before. I seemed to always think it was super hard to do, but honestly, if I can do it, you can do it too! It just takes quite a bit of time, so make sure you’ve got a full afternoon available. Trust me, it’s worth it!
The motivation to can our first batch of fruit was from a family member that gave us a case of local Okanagan peaches and her old canning kit. Naturally, we ate several of the fresh peaches right when we got them, but soon realized they’d get far too ripe before we could finish them all, that and we’d get a belly ache. So we bought some new canning jars and lids and we were on our way to make canned peaches!
Canned Peaches
Makes about 7 1 Litre Canning Jars
Supplies:
1 waterbath canner pot with rack
Canning tongs
Magnetic lid lifter (we didn’t bother with this)
Canning Jars
Large spoon or ladle
1 large pot
1 large bowl
1 chop stick
20 Fresh Peaches
1 lemon for juice
Sugar (white, brown, cane, it all works)
Water
Directions:
This recipe fills about 7 1 Litre Bernardin canning jars. So about 20 peaches. This may vary depending on the size of your peaches and how you pack them into the jars. It’s hard to give an exact amount. The joy of canning is to experiment with how you like them cut, in halves or quarters and finding what works for you.
Blanch your peaches for 30 seconds, this will loosen the skin from the peaches. Remove peaches with a slotted spoon and place into a large bowl filled with very cold water. This cold water will stop them from cooking and make it even easier to remove the skins.
While you’re blanching the peaches, put your canner pot with rack on the stove filled with as many 1 litre jars and water as you can. Bring to a boil and sterilize for 25 minutes. For the last 10-15 minutes add in the lids and canning tongs plus other utensils you plan on using.
While your jars are sterilizing and your peaches are sitting in cold water, you’ll need to make a sugar syrup, this helps preserve the peaches. I prefer to do a light syrup, because sugar is evil (yet oh so good).
Light Syrup: 3 cups sugar to 9 cups water
Empty the pot you were blanching peaches in, bring 9 cups of water to a boil and slowly add the sugar, stirring constantly until dissolved. Add the juice of 1 or 2 lemons, this will help preserve the peaches and prevent browning. Bring the mixture to a gentle boil, turn down to a simmer and keep it simmering until you’re ready to add it to the sterilized cans.
Take your peaches, cut them in half and remove the skins and pits.
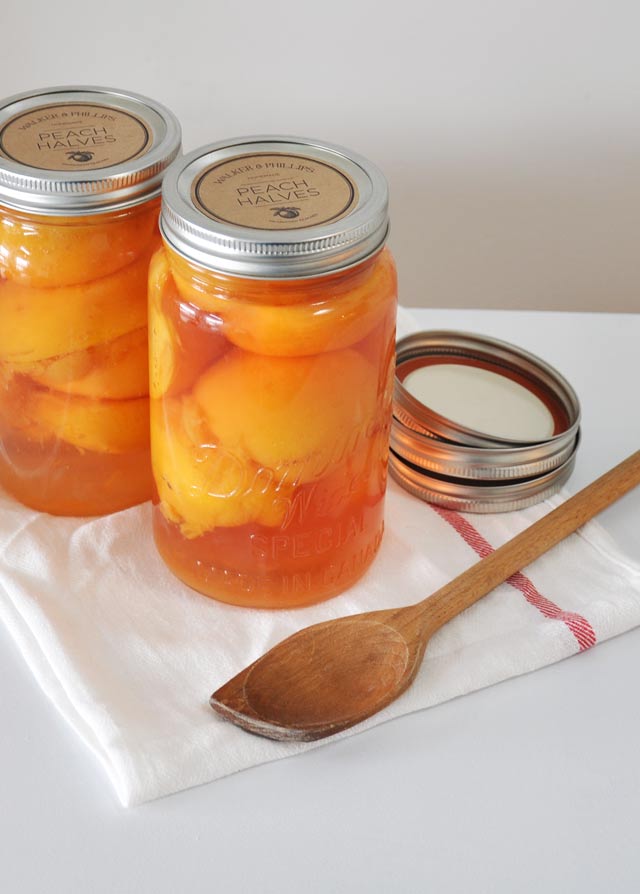
Once your cans are ready, remove from boiling water with tongs, place them on a clean towel on the counter. With very clean hands fill each can with peach halves and top with your hot sugar syrup. Leave about a 1/4 inch space from the top, but make sure your peaches are covered completely, if they aren’t, any exposed peach may turn brown.
Place on your lids and rings firmly but not too tight and return to boiling canner pot to process for 30 minutes. Make sure the jars are covered in at least 1 inch of water over the lids.
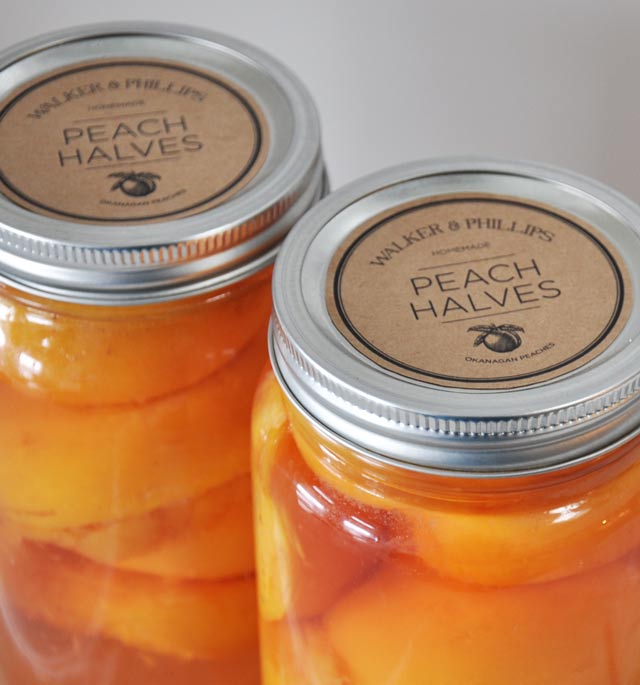
After no more than 30 minutes, remove from water with canning tongs, place on a towel at let cool completely. Make sure they are in a draft free area, avoid handing and bumping them. At this point you may here a faint “ping” this is a good sign, it means your jars are sealing!
Once they are cool, gently press on the tops of your jars, if they don’t bounce back, it means they sealed perfectly. If you find it hasn’t sealed, don’t be sad, just place it in your fridge, the fruit will keep for a few weeks.
Now you’ll want to unscrew the rings slightly to let air get in there to prevent rusting. Don’t worry, your jars will still stay sealed as long as you’re gentle. Once they’re dry, screw it back on and store away for at least 1 month before opening.
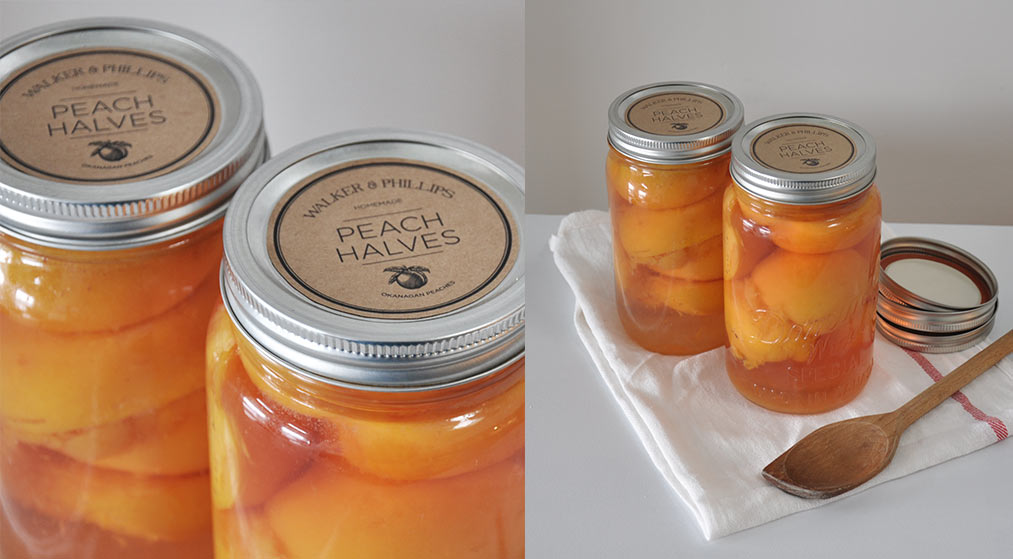
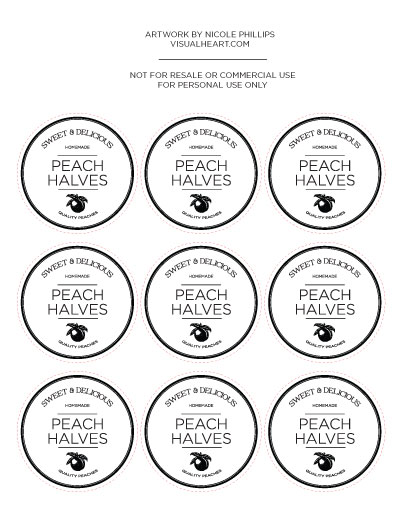
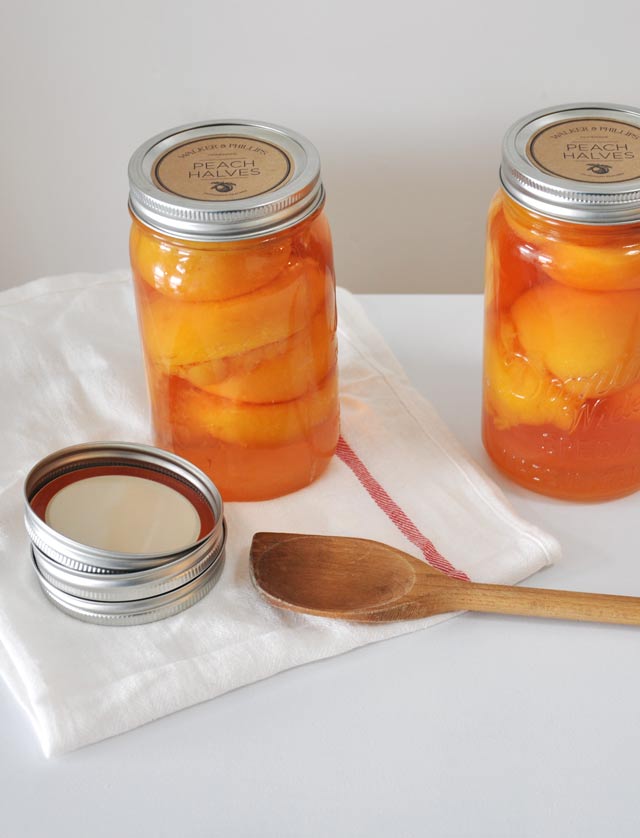
Download A Free Printable Label
I couldn’t resist creating my own labels for my jars, mine are customized with our names, but I’ve included a simplified version you can download to print on card stock, cut along the dotted line and glue to your lids with rubber cement. I used kraft paper to achieve a rustic look.

i have been canning peaches for years and have never found such lovely labels to showcase my work. Your labels have a classic vintage look that allows the natural beauty of the peaches to be for front while enhancing the overall presentation. Beautiful design! Thank you. Angela
Thanks Angela, enjoy!