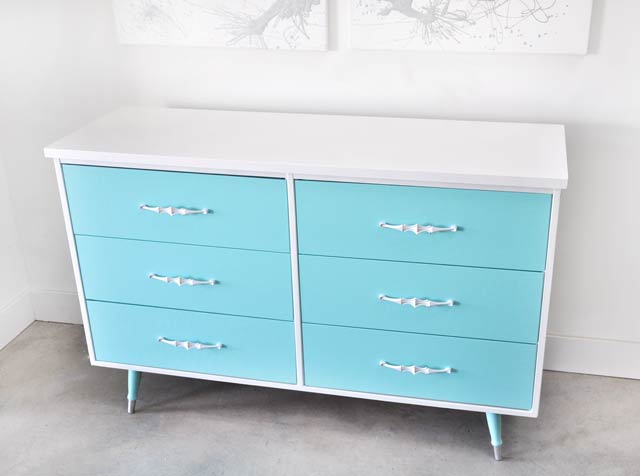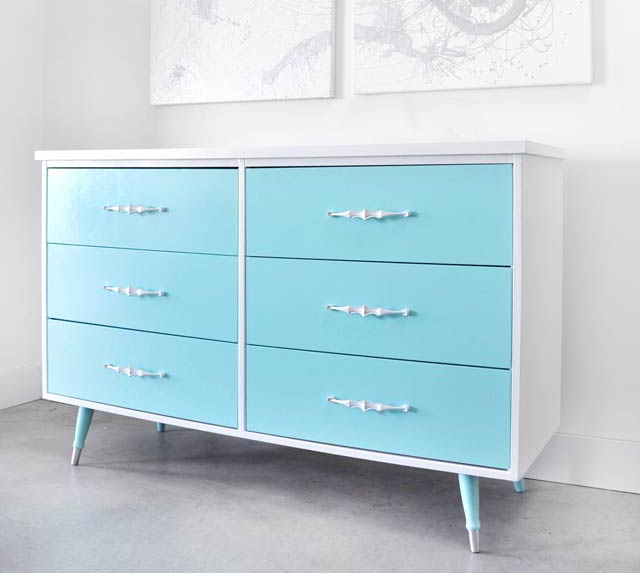
Check out this latest furniture makeover. The dresser was purchased for a steal at $20 and the drawers actually slide nicely and have rails, so they stay in place. So much potential!
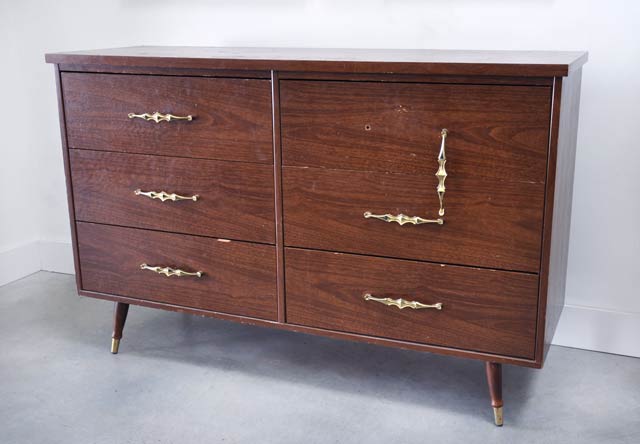
The laminate faux wood finish was in really rough shape, with chips and dents everywhere, but with the right paint and finishing process, it can be saved.
I always start with an overall sanding by hand. Just a heavy grit sand paper does the trick. This will help remove dirt and smooth out any bumps and when you’re working with plastic laminate surfaces you need to scuff the surface to help the paint adhere.
Once it’s sanded, Andrew helped me by filling any holes with wood filler. Once the patching dried it was sanded smooth. At this point I find that you’ll think you’ve sanded it smooth but once you apply a first coat of primer you’ll start to see all the deficiencies.
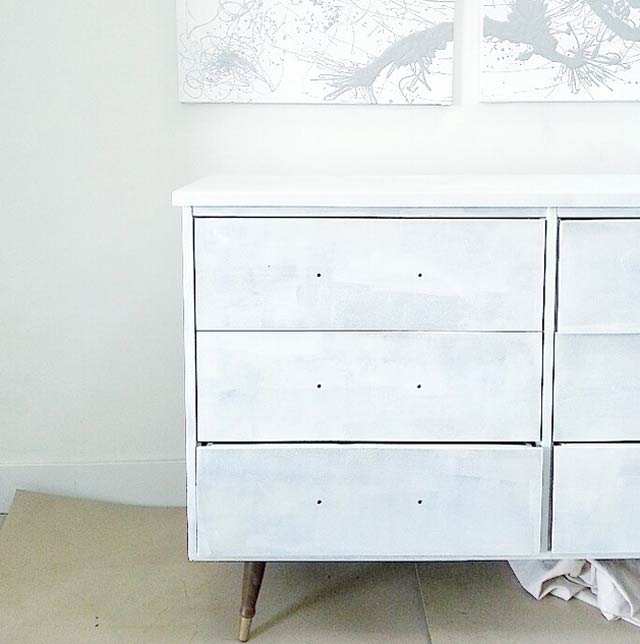
The surface was then wiped clean and then a light first coat of primer was applied with a small foam roller. Once the first coat dried, you can clearly see any areas that need to be sanded a bit more and smoothed out, do it now, there’s no turning back! Then continue to layer on the primer until it’s completely white. Primer is very important, do not skimp on this stage as it help block smells, wood stain, water marks and helps your top coat adhere.
Once the primer has dried you can add your first thin coat of paint. For this piece I used Benjamin Moore Advance in Tropicana Cabana. This Benjamin Moore paint goes on like oil paint but cleans up so easy. It’s also self levelling, so your surface will be super smooth.
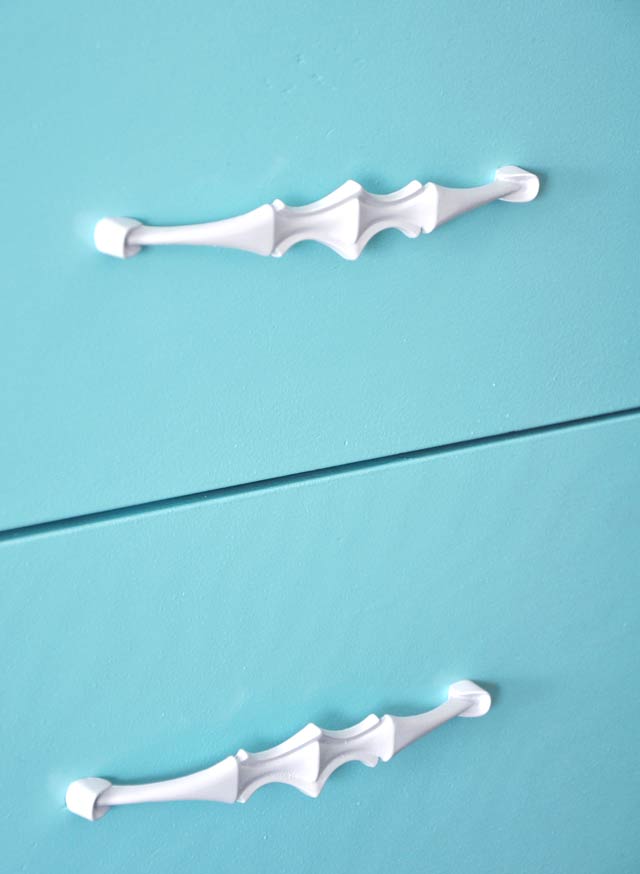
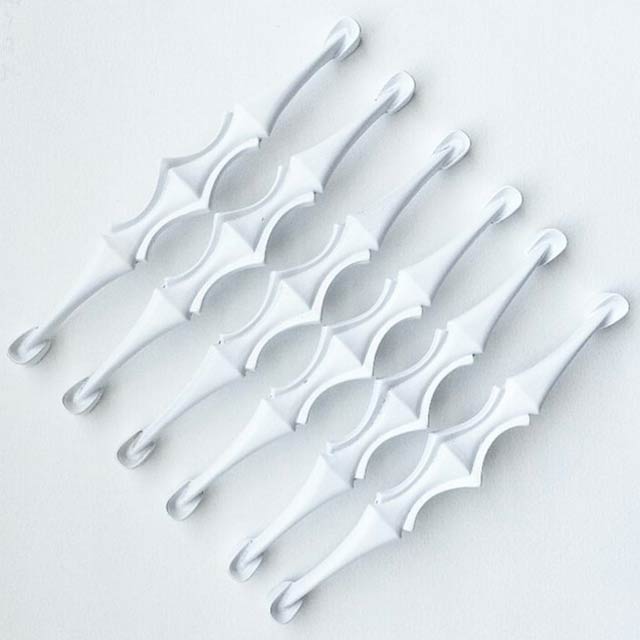
While your first coat of paint is drying, you’ll want to start on the hardware. In most cases I find that pieces like this have plated brass hardware that’s chipping and peeling off, so I find it’s best to paint them. I give them a quick clean and a light sanding to scuff the surface so paint will adhere. I like to use Rustoleum Spray Paint suitable for metal surfaces and I apply it in very thin coats. I find if I do the coats too thick the paint creates a weird texture on the surface and no one wants that! So be patient with it.

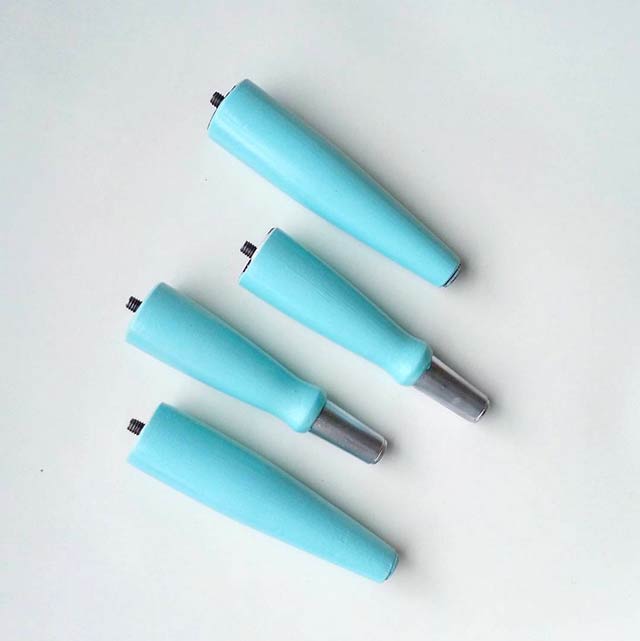
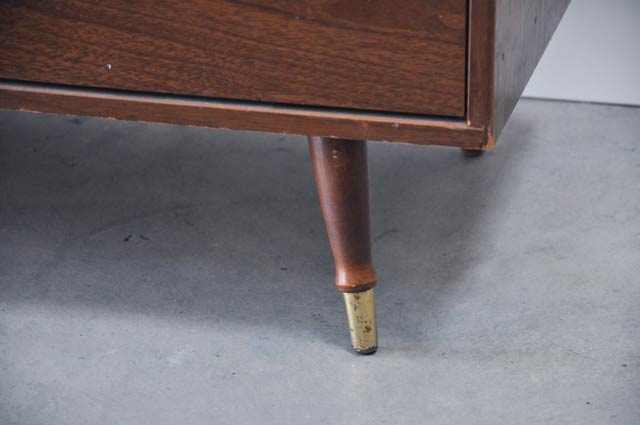
Lastly the legs on this piece needed a facelift, since there was no wood showing on this piece I decided the legs needed to be painted to match the overall colour palette. The rusted brass plated feet were cleaned up and painted metallic silver and the wood was primed and painted to match the body colour of the dresser.