I know it’s been a while since I’ve posted a painted dresser makeover, but the honest truth is that I haven’t had any projects! I’d be looking for one to work on every week with no luck, sure there were lots of very expensive dressers, solid teak cabinets etc, but my focus is to bring new life to vintage plywood dressers that I don’t feel guilty painting. Plus it just feels great to make something ugly beautiful again.
Here’s what I recently got my hands on, it’s a simple 6 drawer plywood and particle board dresser, nothing fancy really, but better than nothing! My neighbour was getting rid of it and all I had to do was wheel it into my apartment and it was mine.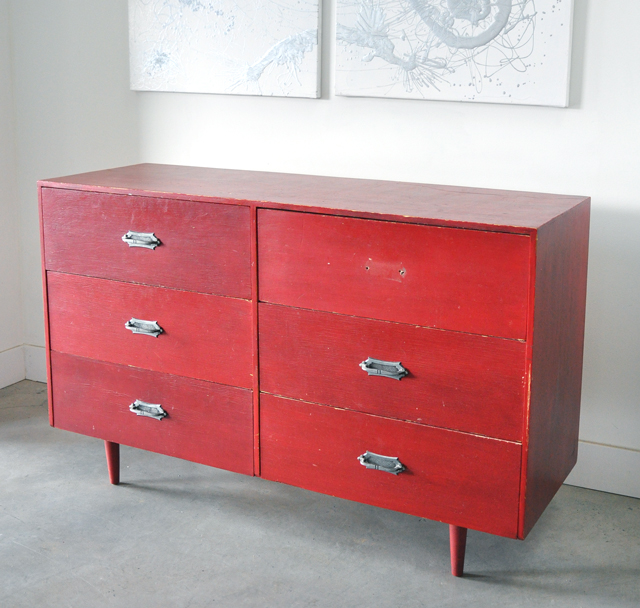
I had to save this dresser! I couldn’t let this badly worn red paint live this way in someones home. It needed a makeover, even if it wasn’t perfect, just something simple to freshen it up. A few coats of white paint and some new hardware would do the trick. The drawers were in really rough shape and so was the top surface, I did what I could to fix it, but even after patching it and sanding, it’s still pretty rough, but the fresh coats of paint really helps.
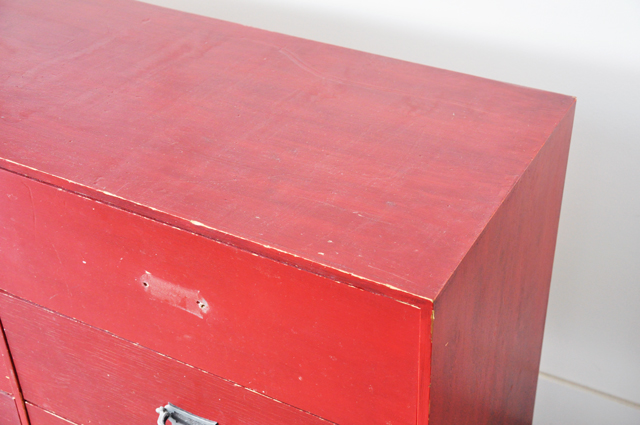 I applied 1 thin coat of primer, I always do this to bring out any imperfections, it makes it easier to see scratches and holes. Once the primer is dry I fill in holes with wood filler and sand it smooth.
 Once the holes were patched I applied 2 more thin coats of primer, it was necessary to make sure that red was really covered up! I personally can’t stand red, it’s such an angry colour.
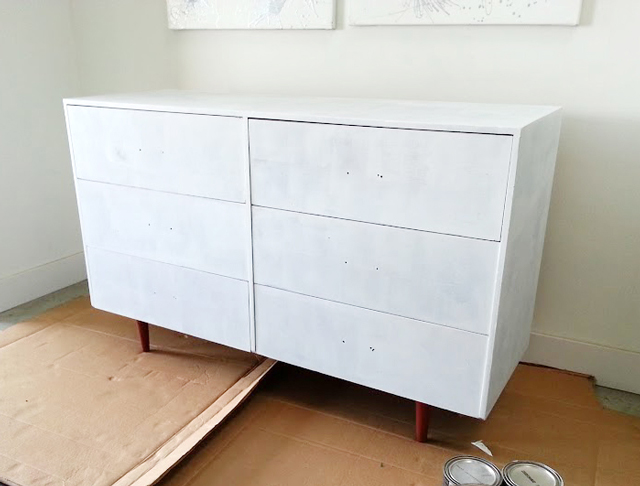
After the primer was dry I applied thin coats of paint, letting it dry for at least a day in between coats.
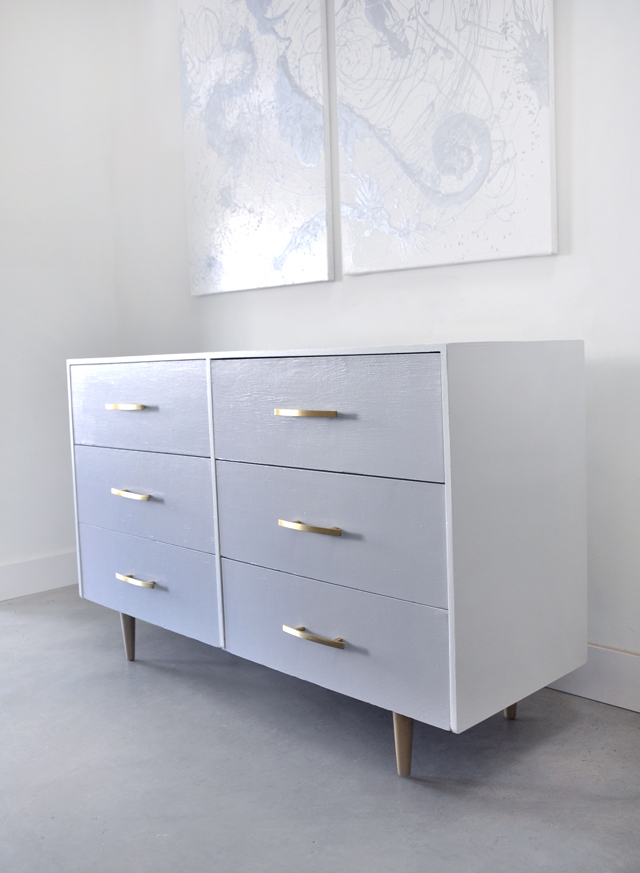
This time I tried out some new brands of paint. I usually use Benjamin Moore Advance in high gloss. This time I used Para Paints “Sterling Spoon” in their cabinet and furniture melemine finish for the drawers and CIL real life furniture paint in “White Wing” for the body. Both brands went on smoothly with a foam roller, but the finish isn’t exactly what I expected, mostly because I’m used to the super high gloss finish that Benjamin Moore has in the Advance series, but this satin finish was different and helps hide the imperfections because it doesn’t reflect too much light.
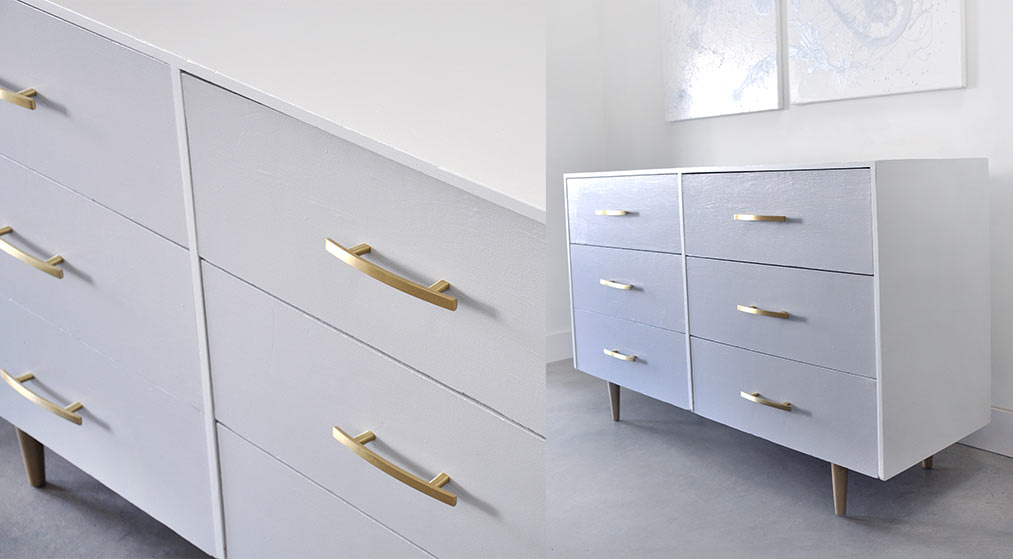
Here’s the big reveal!
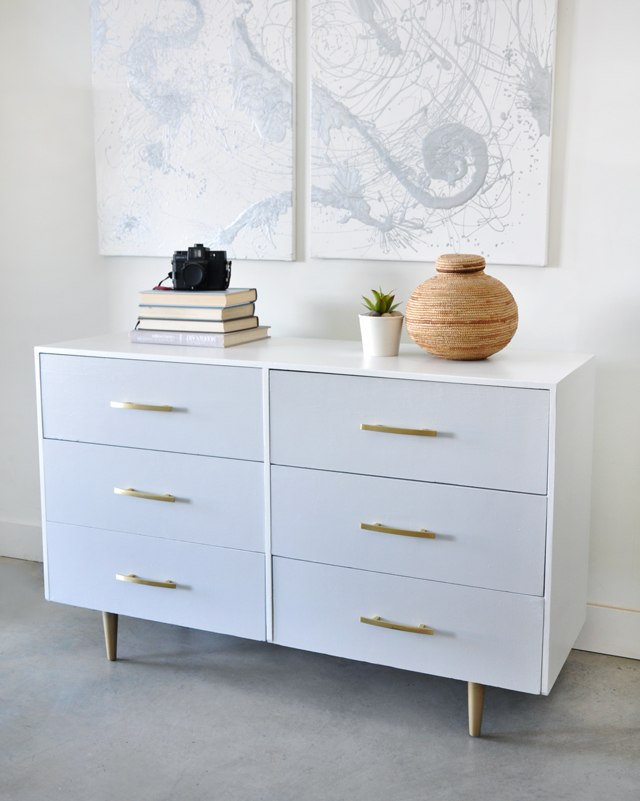
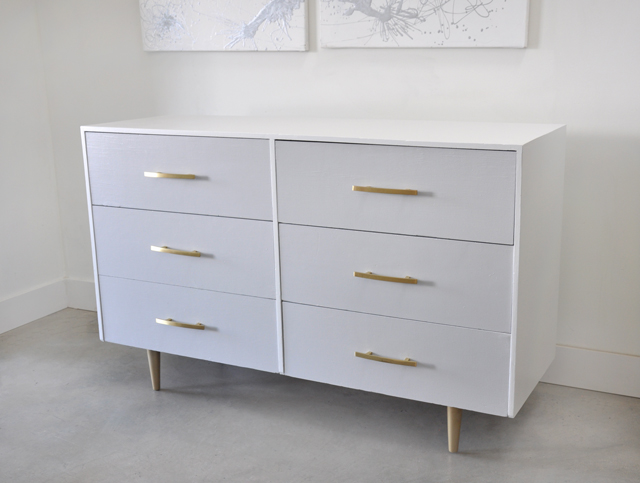
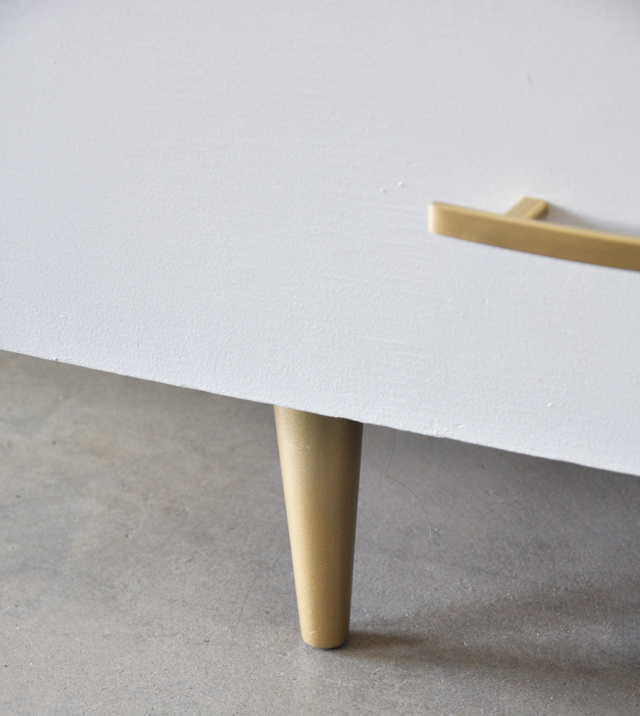
I added new modern brushed brass hardware from Home Depot and spray painted the legs to match. I used Rustoleum Gold spray paint, it’s the closest match to the brass hardware colour, if you use brass spray paint it will look brown.

Gorgeous! This turned out beautifully! You’ve almost inspired me to try my hand at bringing something vintage back to life! Not sure I have the patience though. Thank you for sharing.
xx
Neelam
Thanks so much Neelam, hope you get around to updating some furniture soon 🙂
This looks so so good! Great work!
Thanks so much Laura!
We saw this over at AT and just had to see more detail. Love the design of the dresser and the colors you chose. Very suite design.
Thanks Cat!
What a beautiful job! I saw your dresser featured on Apt. Therapy and had to click over to tell you how much I love it.It turned out gorgeous!
Thanks so much for the kind words Karen!
I also just found your page via Apartment Therapy. Did you create the canvas artwork as well. You’re an inspiration!
Thanks for visiting my website Michele! Yes the paintings are also mine. I went to fine art school many moons ago.
loved the idea.
I have 2 hand me down dressers that don’t match. one is a light wooden color and the other is dark blue and white. I also have a night table that is that colorless wood from ikea.
how could I make them into a set?
Hi Celia
Hard to say without seeing them and the condition they’re in, but the best option is the paint them all the same colour and use the same hardware on all of them.
Also sometimes you don’t have to be matchy matchy, it’s nice to have a few eclectic pieces, paint them fun colours and add personality to your space. Just be sure to prep the surface well before painting. Have fun!
Bigggggg like?
do you sell these furnitures???
Everything shown here is sold, sorry. I sell locally only whenever I find a new project.
What color paint did you use here?
hi, the paint colour are mentioned in the post if you scroll down. Para Pain – Sterling Spoon and CIL in White Wing. This post is quite old, these days I’d recommend using a paint brand called Fusion Mineral Paint as well as a primer coat before that.