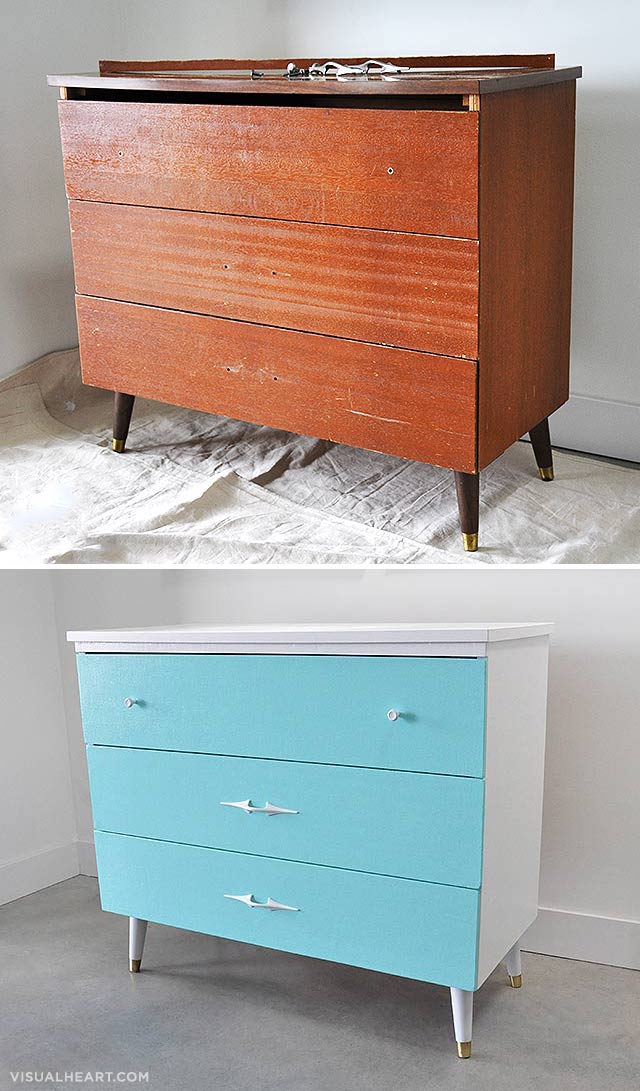
The other weekend while driving out of town to visit family we hit up the local thrift stores to see if we could get any deals. Lately I’ve been finding that would local thrift shops are very picked over, so this will likely become a habit every time we visit family! We picked up this small dresser for practically nothing and this time I was looking to experiment with it. The top was heavy duty laminate, I’d never painted plastic before but was willing to give it a shot. Andrew spent a few years working at a hardware store and knew exactly what type of paint would do the job.

We hit up the Home Depot just in time to catch the end of their long weekend sale and saved us a lovely $7 on a can of CIL Smart 3 Anywhere Primer. This paint should be applied after you scuff the surface with 200 grit sandpaper. You’ll want to apply several thin coats and let them dry completely in between applications. Just read the instructions on the can and you can’t fail! It took about 3 coats and the surface was perfect for applying our high gloss Benjamin Moore paint from their Advance line. This paint is self-leveling and very durable, plus it only takes about 2 coats to achieve the best colour.
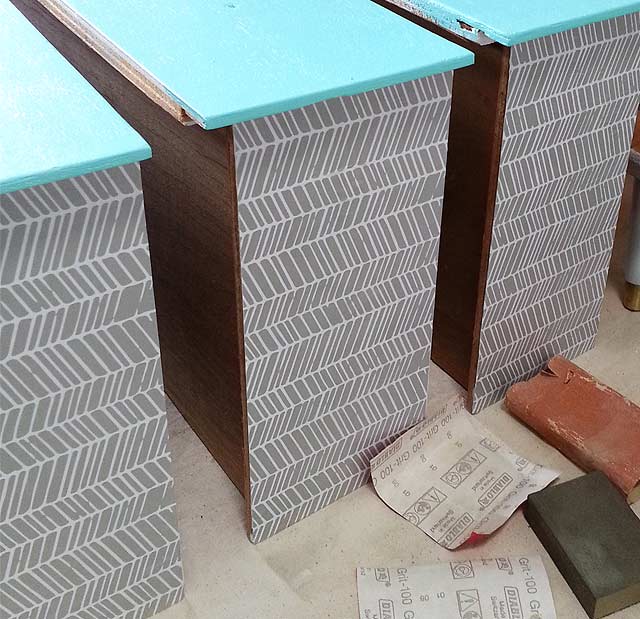
So I guess you’re wondering what I was experimenting with on this project? I decided to découpage! I know what you’re thinking, what the heck? Isn’t découpage something from the 80s that looks really tacky?? Andrew was pretty sceptical on this idea as well, but after some convincing and deciding on what kind of pattern we’d apply, it was a go! Applying pattern to the sides of the drawers is a fun way to add subtle colour and texture to any room without it being in your face 24/7. You could compare it to wearing a pair of fun socks that people only see when you cross your legs.
Supplies:
– Mod Podge Glue
– Large art paint brush
– Popsicle stick (optional)
– Printed pattern on paper sized to fit your drawer
(if you can’t make a pattern, I’m sure you can find something on the Google 😉
I made my pattern using Adobe Illustrator, printed it on matte paper, trimmed it to fit, and attached it to the sides of my drawers using the Mod Podge glue. You’ll want to apply a liberal layer of glue using your large artist brush, place your pattern on top and smooth out quickly using a popsicle stick. You can use the back of your hand if you think you can remove the bubbles in the paper this way. You’ll want to work quickly as there isn’t much ability to slide the paper around once it’s placed down.
Once it’s completely smooth, use a large paint brush and apply a liberal coat of Mod Podge on top of your pattern to seal it in place and give it a glossy appearance. More bubbles may appear at this point, you can continue to use the popsicle stick, or you can just use your fingers to push out the bubbles. Once it’s completely covered, let it all dry and step back to admire your beautiful work.
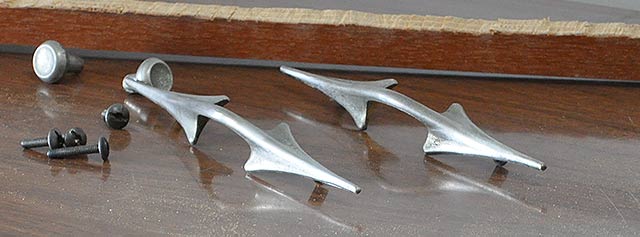
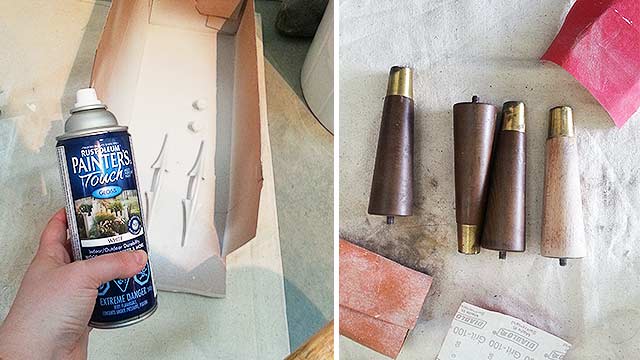
I also updated the hardware. I was hoping to salvage the brass handles, but they were in rough shape, so I sanded them down and applied 3 coats of White High Gloss Rustoleum spray paint.
I did the same for the legs, but kept the little brass feet because they just needed to be cleaned up. The caps on the legs were solid brass and the handles were plated brass, this makes a big different for refinishing. Sadly the brass plating on the handles had mostly worn off so that’s why I decided to paint them. You can figure out if it’s plated or not by using a magnet, if the magnet sticks, this means it plated, if not, it’s the real deal.
I cleaned up the brass feet using a baking soda and vinegar mixture and scrubbed aggressively until the dirt was removed, I also used a really low grit sanding block to remove the really tough dirt (I don’t recommend doing this on something you really love, because it will actually give the brass a brushed appearance, but I was ok with it if it meant it would look clean!)
Check out how it all came together:


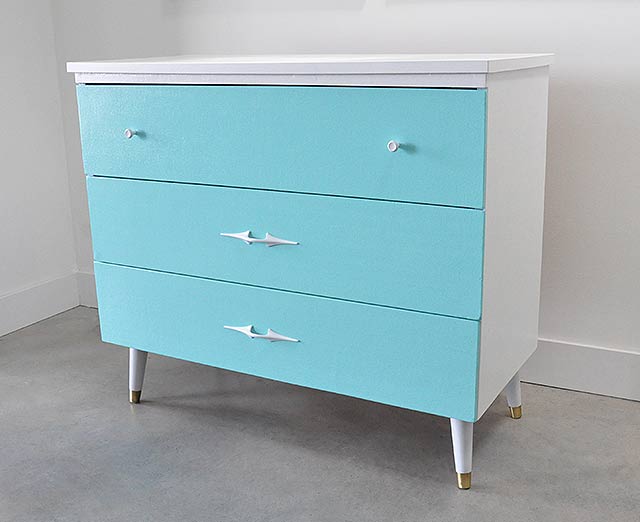
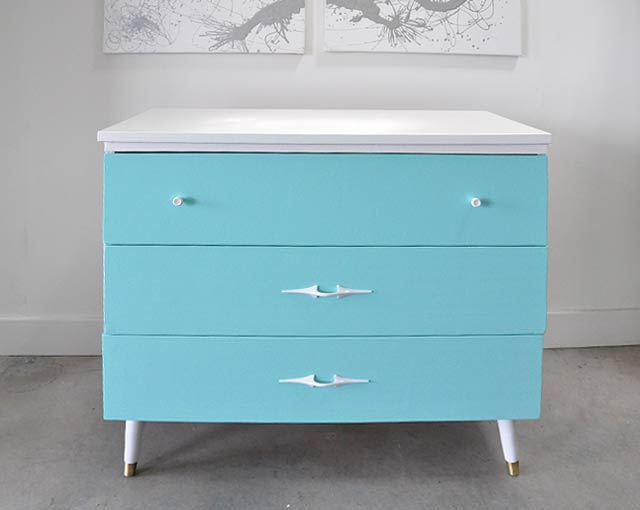

I LOVE the peek-a-boo of the chevron when you open the drawers. Great project.
Thanks so much. I think it’s a great way to add colour or pattern to a space if you’re too scared to be bold.
How did u change the color.did u sand it down?
Pingback: Before and After: Vintage Side Table with Dipped Tips | visualheart
Pingback: Before and After: Vintage Side Table with Dipped Tips
This is a fantastic transformation. well done to you. thank you for sharing this is a perfect step by step example for people like me can’t hammer a nail straight into a wall ?