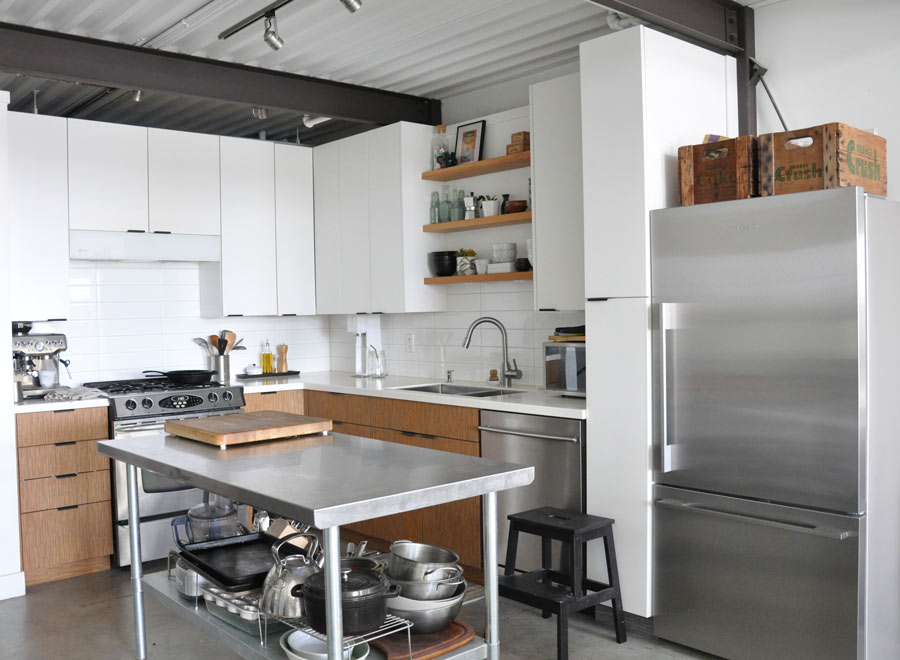
It’s been a while since I’ve shared an update of our kitchen in our loft. When we moved in here about 7 years ago, we renovated it and kept the design pretty simple because it is open to the rest of the loft so we didn’t want it to feel like it was taking over the entire space. 7 years later and I still love the design, but in recent months we did a few updates that I’ll share with you.
In a previous blog post, I shared the addition of matte black cabinet handles and how that small and fairly inexpensive purchase really transformed the space. Check out that post over here.
Since then we made a big and somewhat scary purchase and got a new fridge. Our hand-painted pistachio green fridge started to become so loud it was keeping us up at night, it got to the point where we thought the motor was going to die at any moment, so it was time. Luckily I had already narrowed down a few brand names that I trusted and we went with a counter depth Fisher & Paykel refrigerator, 17 cu ft model RF170WDRX5. We kept it simple and went without the water dispenser and ice maker, in our opinion it just meant less things will go wrong with it down the road, because we all know things just aren’t made how they used to be. That being said, this fridge is absolutely awesome, totally worth the investment. It’s so silent, fits plenty and is a clean minimal design. I refused to buy a Samsung or LG because I’ve had them in previous apartments and they were just awful, you can definitely tell the difference in quality. Our kitchen feels a lot more minimalist now with this simple and modern fridge and it’s the perfect size, it doesn’t take over the entire space, which is important because it’s right next to our living room.
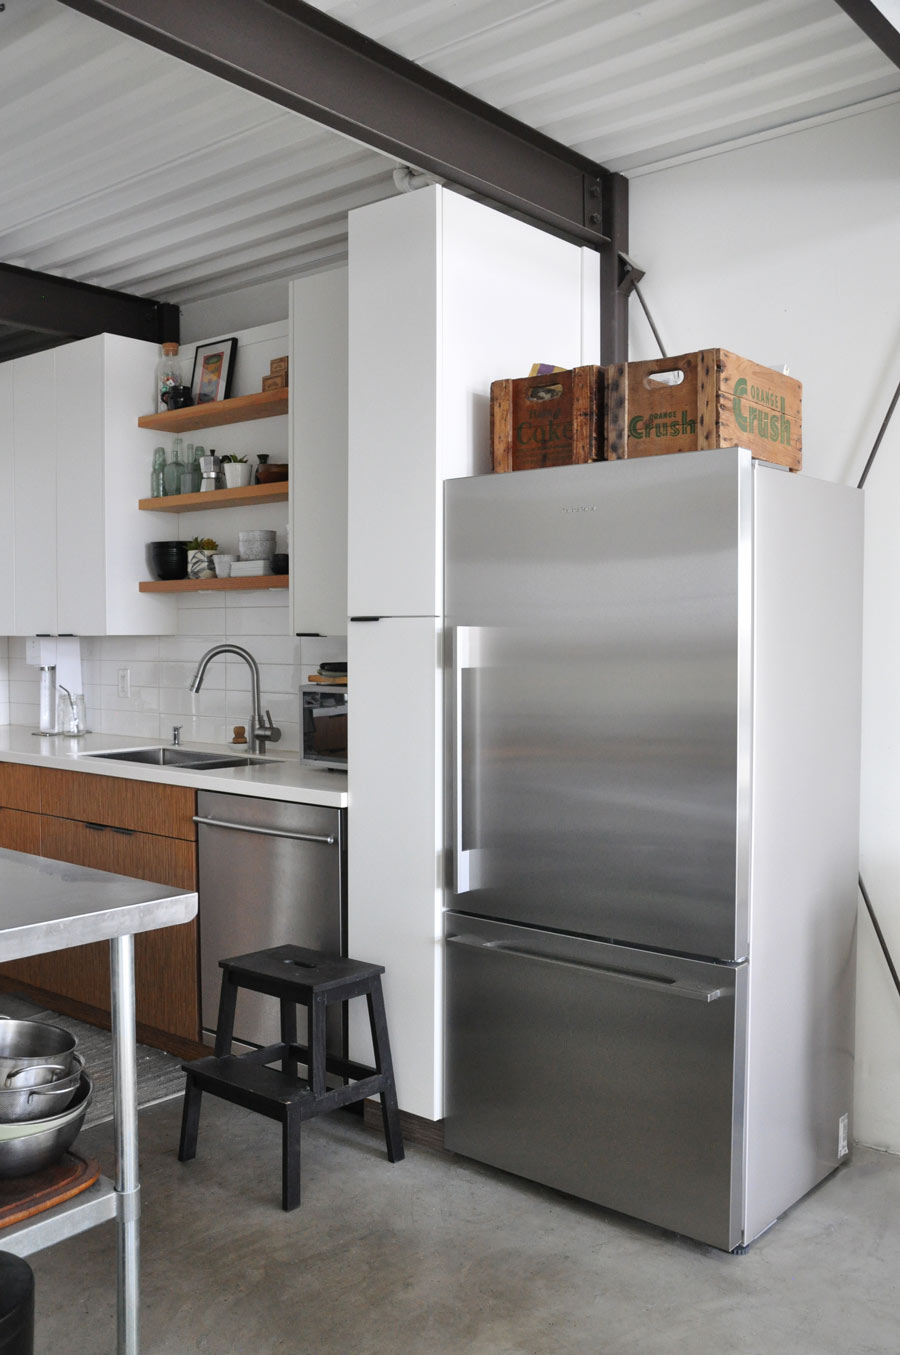
The only thing I’ll miss about the old fridge is the pop of colour and character, that memory of painting it ourselves will hold strong though, check out that blog post over here if you haven’t already.
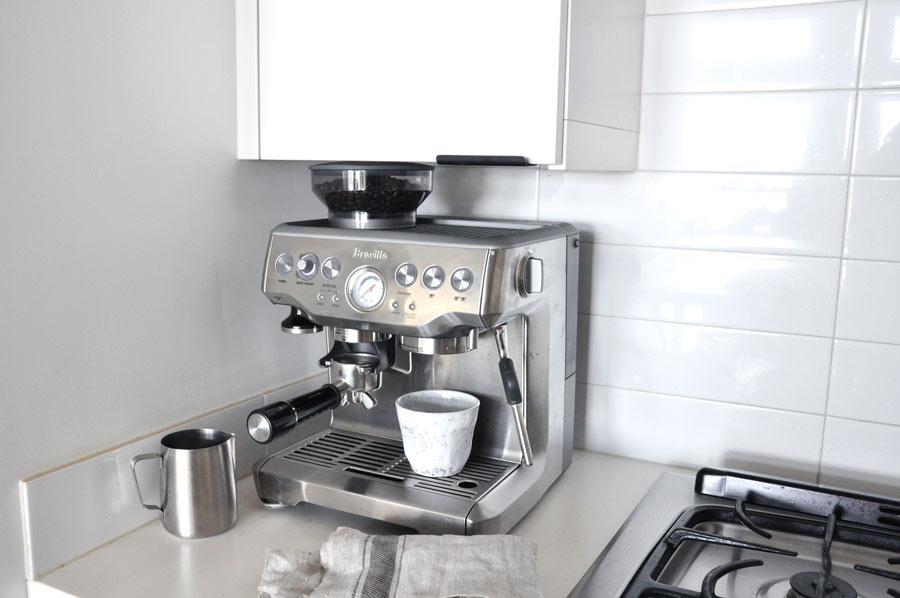
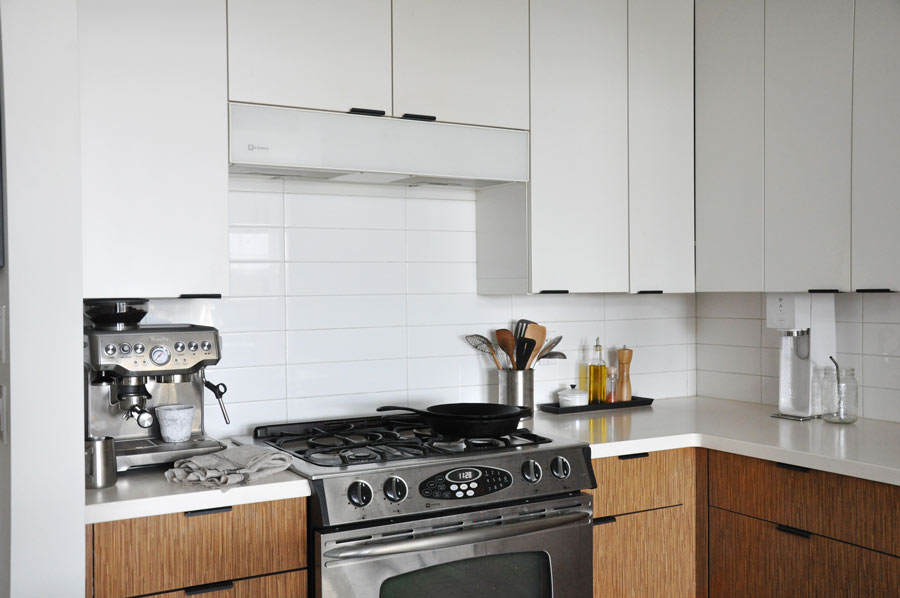
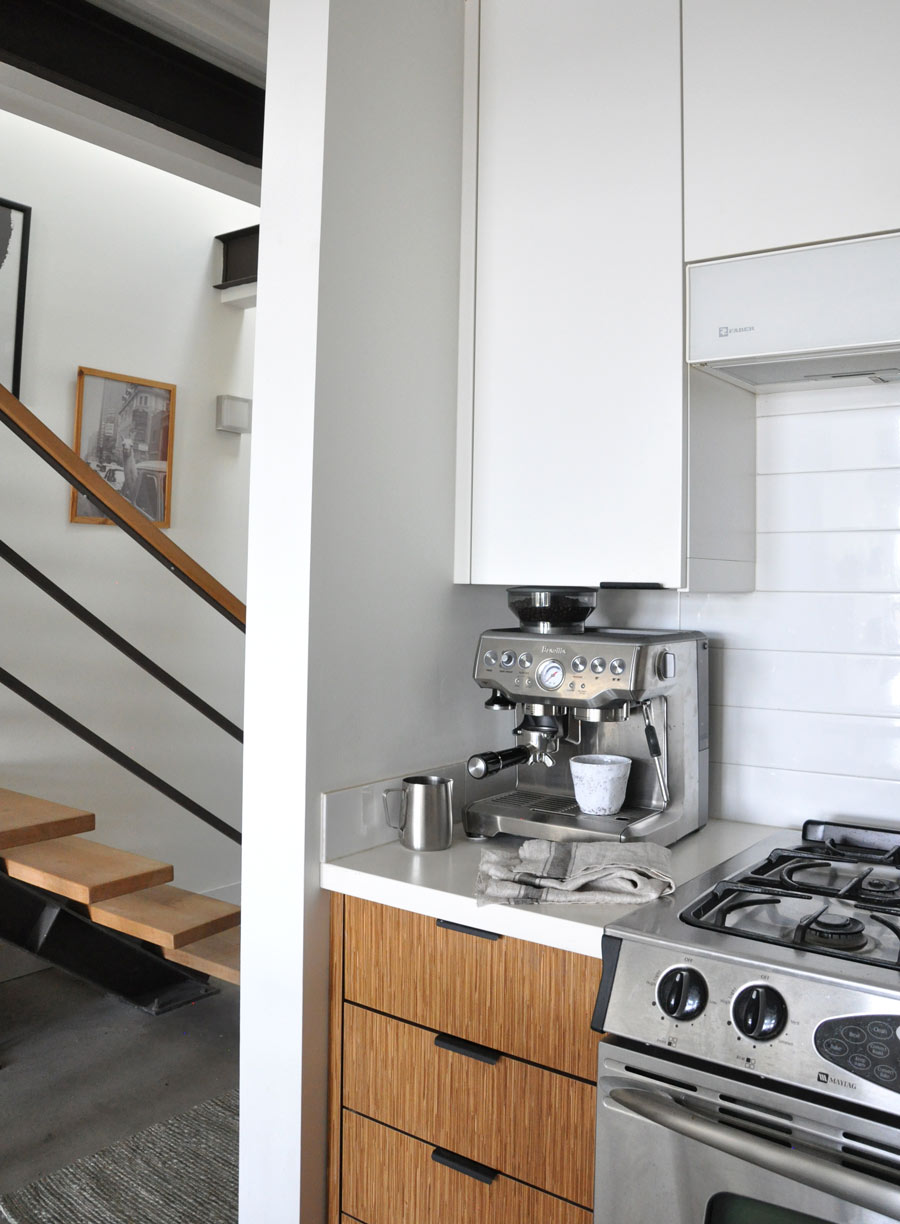
Most recently, we were very excited to partner with Breville Canada to create a coffee nook in our small kitchen. We have this small bit of countertop space next to the stove we never use and the Breville Barista Express just happened to fit there perfectly. Andrew was super excited about this because he used a stove top coffee maker for years and that thing leaked all over the stove and was a little time-consuming. He was also hand grinding his beans and the noise from that was making me crazy.
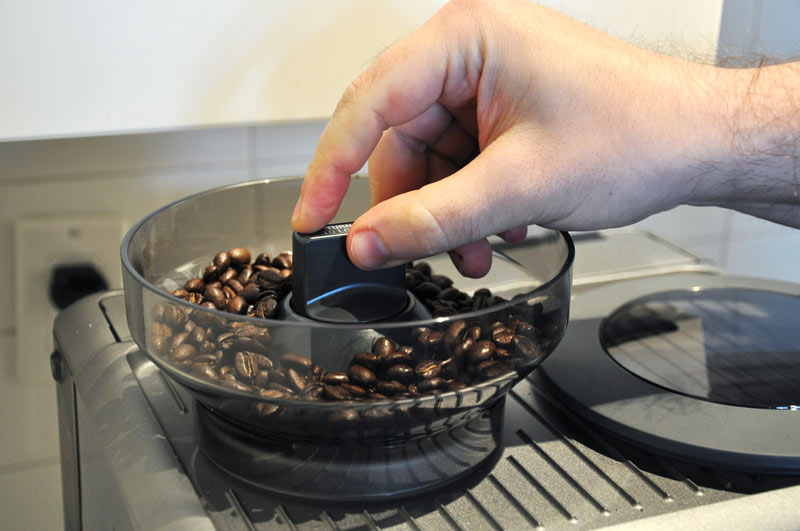
We were very grateful that Breville Canada provided us with the Breville Barista Express. This machine is so fancy yet so easy to use, it grinds the beans, has multiple settings and my favourite part, it steams milk just like the coffee shop! I love being able to have frothy almond milk when I do have the occasional coffee. Andrew is loving how fast and simple it is, within a few buttons he’s got coffee with perfect crema and no mess, plus he has more time in the morning to just sit and enjoy. Here are a few snaps of him using it and how it fits so nicely next to our stove, it’s like that spot was made for it.
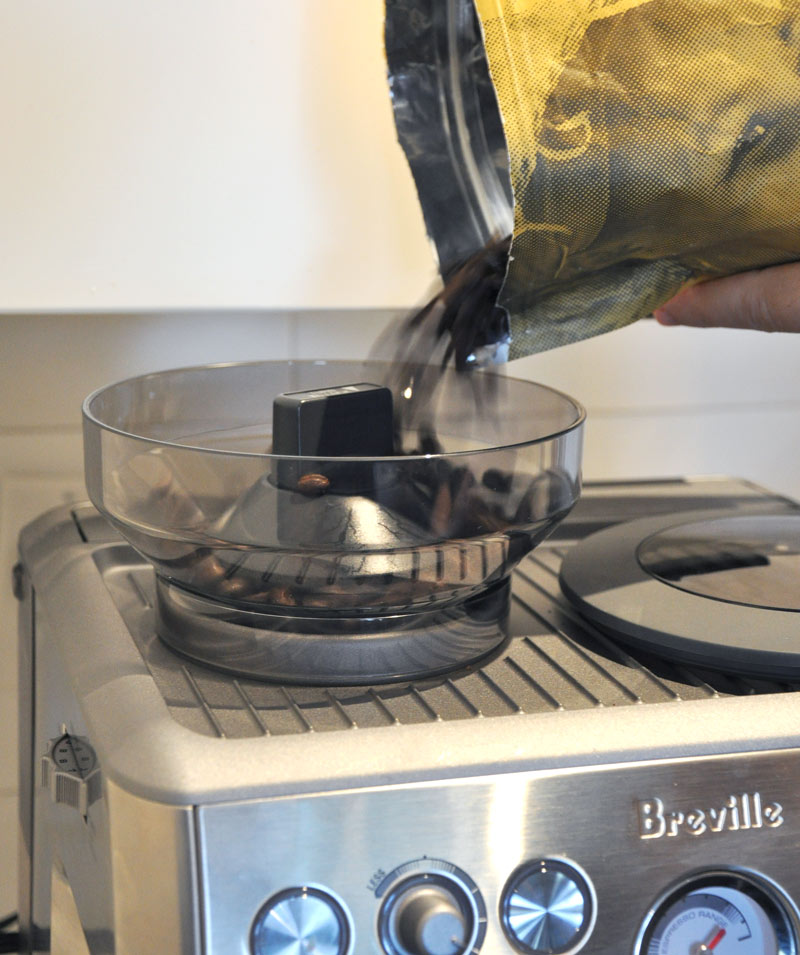
Add your favourite beans into the hopper and lock it into place. We love Level Ground.
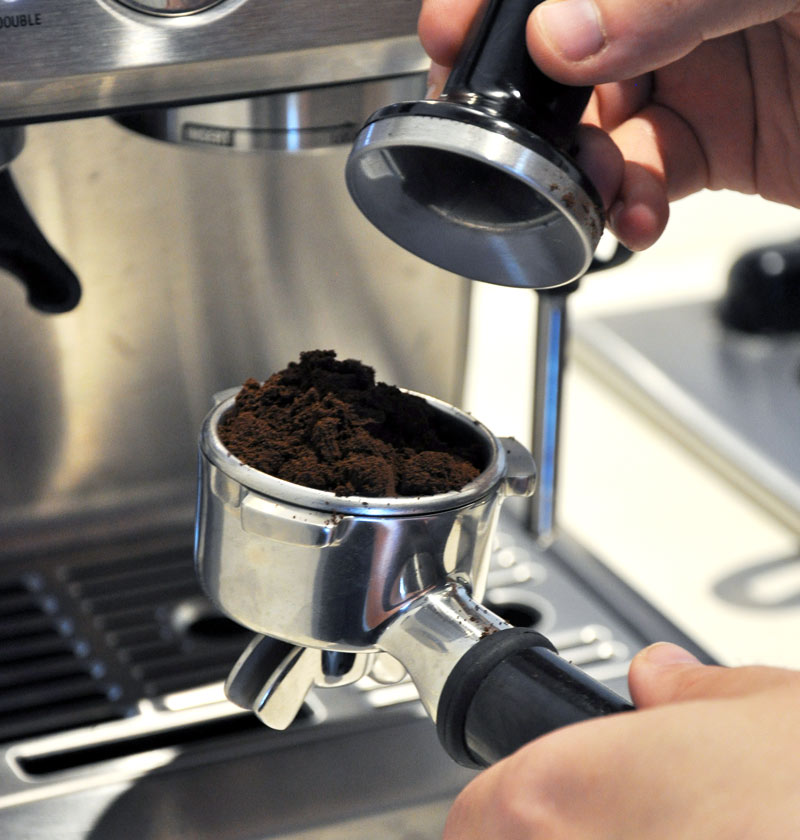
Play around with the grind setting, it took us a few coffee’s to figure out how fine we wanted it.
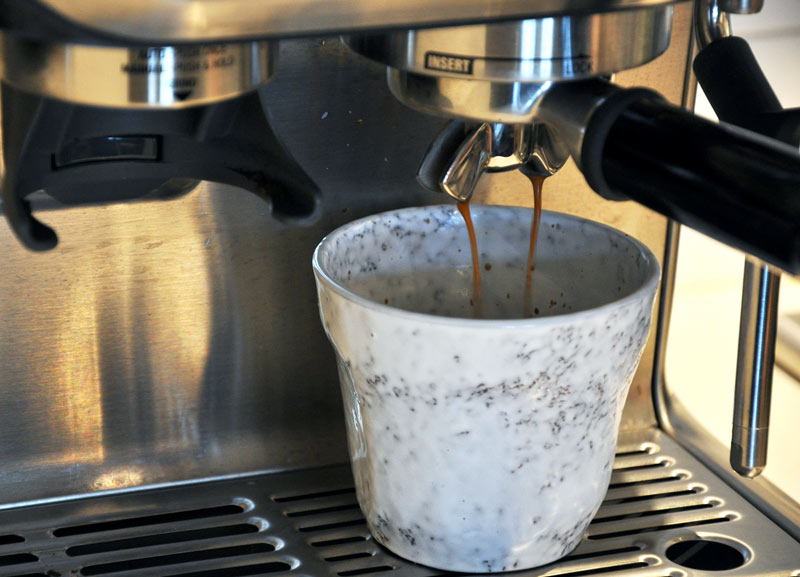
Be sure to read the manual on your Breville Barista Express to figure out specific settings, but once you’re set up, you just have to push 1 or 2 buttons and out comes perfect coffee with dreamy crema.
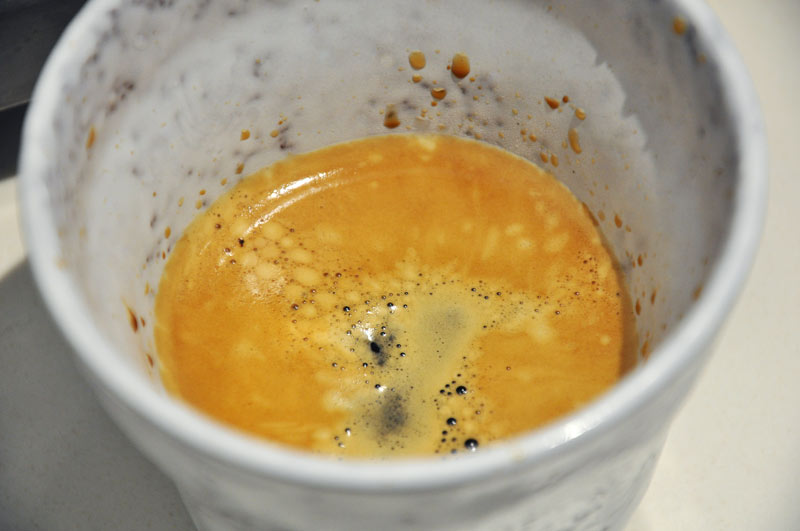
Below, the Breville Barista Express looking right at home tucked into the corner of our kitchen. Since it’s the middle of Summer right now I’m really loving iced coffee and being able to make it at home feels like such a luxury. Check out this website to learn more about the machine.
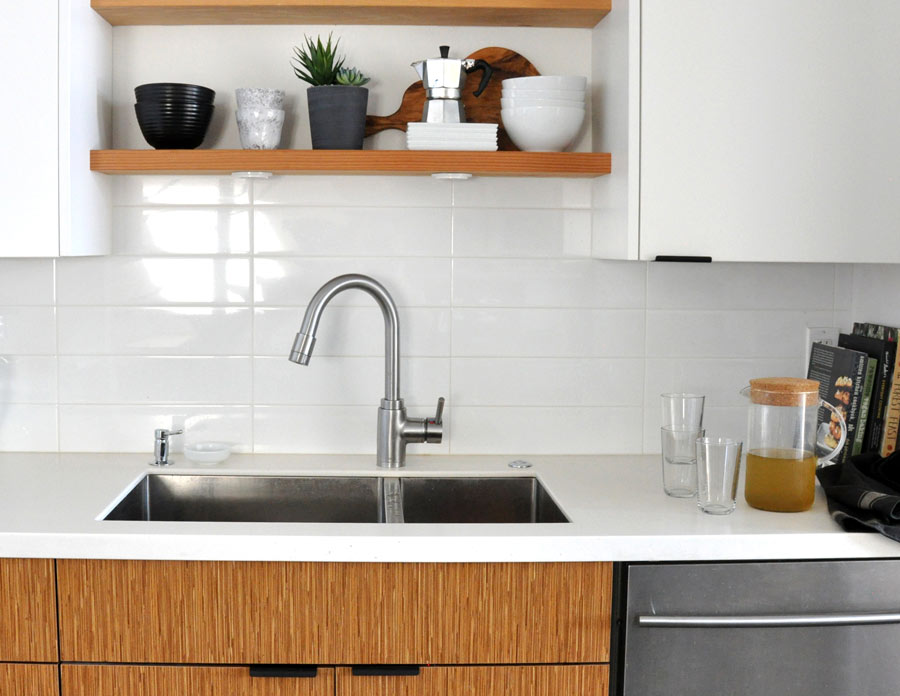
Lastly, a small but significant update to the kitchen, when we renovated we installed inexpensive basic oversized white subway tile, while I still love the look, 7 years later the white grout was looking dirty and as much as I tried cleaning it, nothing was helping, until I found this product called grout refresh, and no this is not sponsored, it’s just a product that I found and actually works great. It comes in a bottle already mixed, we went with Mapei Gray, you can find it at your local hardware store or on Amazon over here. Be sure to follow the instructions on the bottle, but it was literally as simple as cleaning the grout lines well before use, then applying the product with a thin brush or toothbrush, and wiping off the excess once it was set. It’s amazing how a small update like this can really change a space and I’ll never have to look at dirty yellow grout lines again! Since then I have learned to never use white grout, ew. You’ll see in the photos below the update is pretty subtle, but that’s the beauty of it in my opinion.
BEFORE:
AFTER: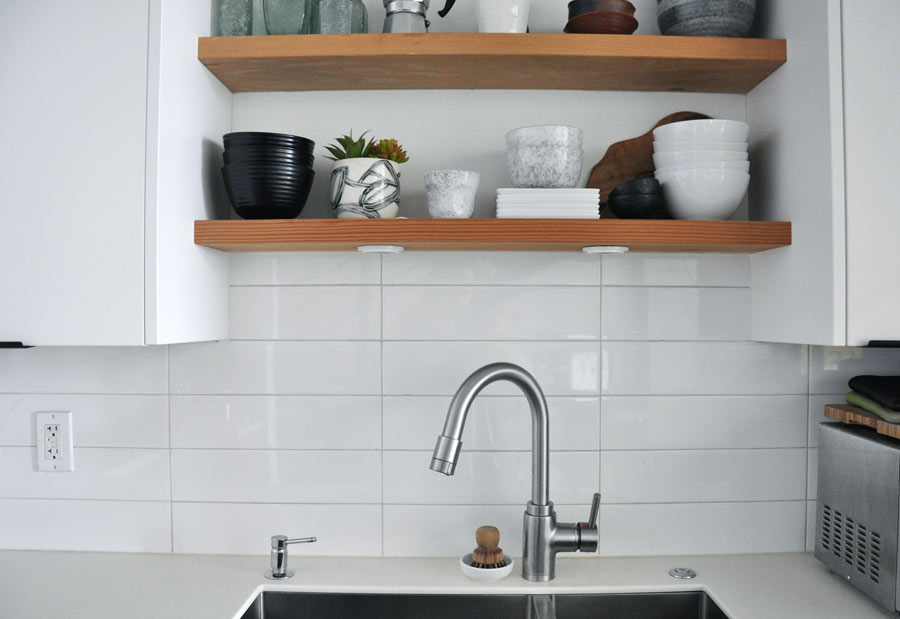
That’s all the updates for now, but follow along on my instagram stories if you want to see our progress on becoming stay at home coffee baristas haha. Seriously though, I need to work on my latte art.
Disclaimer, Breville Canada provided product in exchange for a product review in this blog post. All other brands mentioned we not sponsored and have no affiliation with Breville Canada. All thoughts and opinions are my own. Thanks for reading and supporting my blog.

I have kitchen envy! And aren’t automatic espresso machines the best?
This is our first automatic coffee machine, it’s to die for!