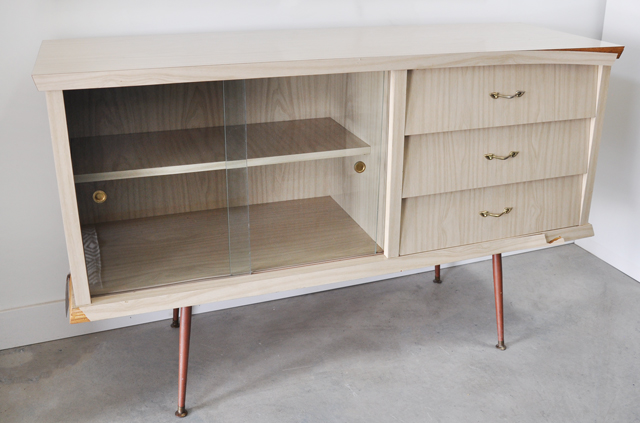
This past Summer Andrew and I found this awesome solid plywood vintage sideboard, credenza, mid century modern cabinet (whatever you want to call it). I finally took some photos of it to share here and can’t wait to finally sell it….or keep it…
It weights a ton and if you could have seen how we got it home you would of had a good laugh, lets just say thank goodness we didn’t live too far from where we found it!
Here’s the before photos of this vintage sideboard:
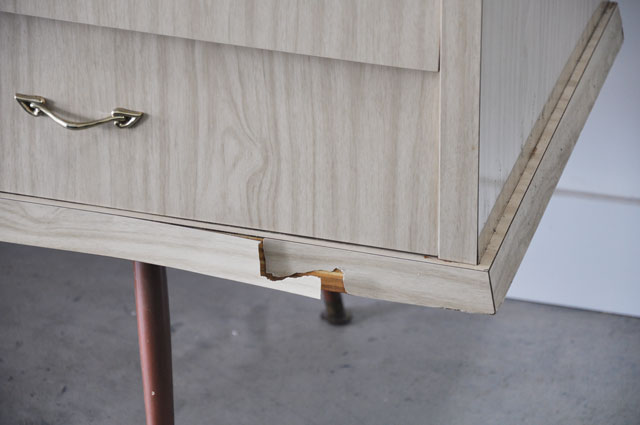
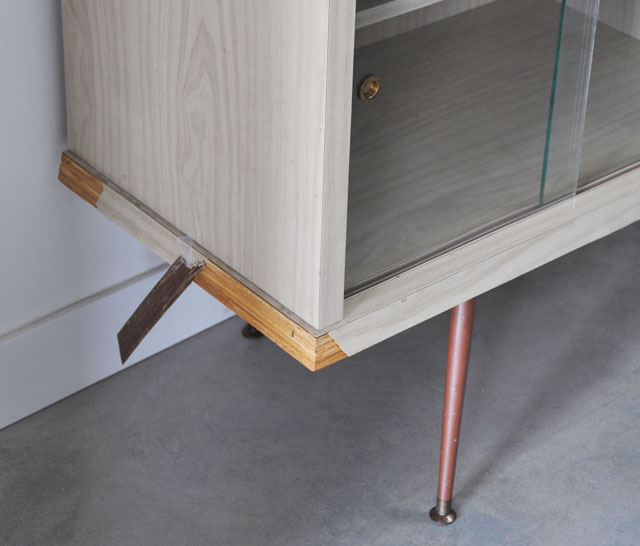
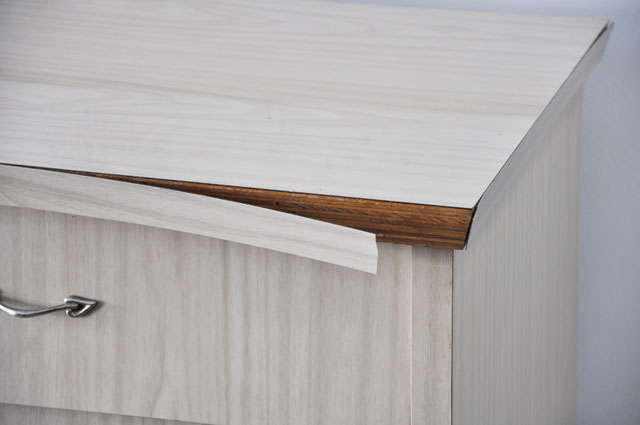
Here’s some close ups of all the ugly laminate that was broken and peeling off. Those legs though…
You have no idea how good it felt to remove all the loose bits of laminate!
Once all the loose laminate was removed, all the holes and gaps were filled with wood filler. This step is very important in order to create a smooth surface. Once the wood filler dried, it was sanded smooth to make a paint ready surface.
We removed the glass doors and hardware, sanded the entire surface lightly with a heavy grit sandpaper to make a surface that will hold the paint. After sanding I wiped it down with a damp cloth and then it’s ready for primer.
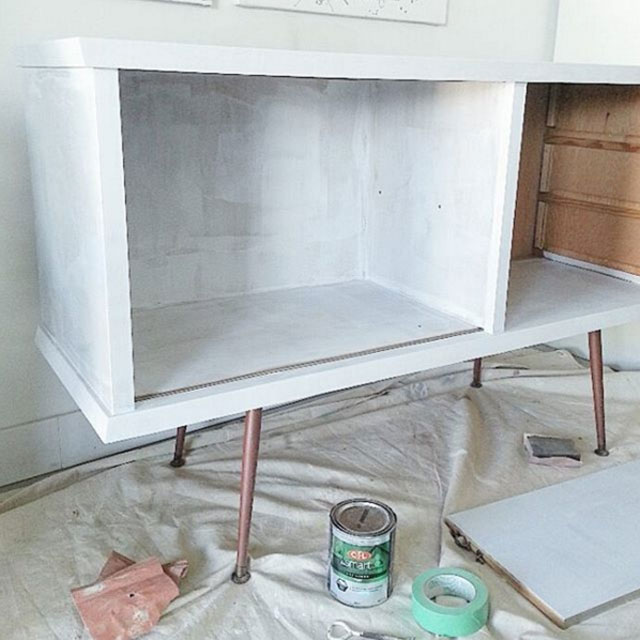
I always start with a quality primer. I like to use CIL Smart 3 anywhere primer and apply it in several thin coats. Here’s a photo from my instagram, sorry for the low quality, I just wanted to show you how it looked once it was primed.
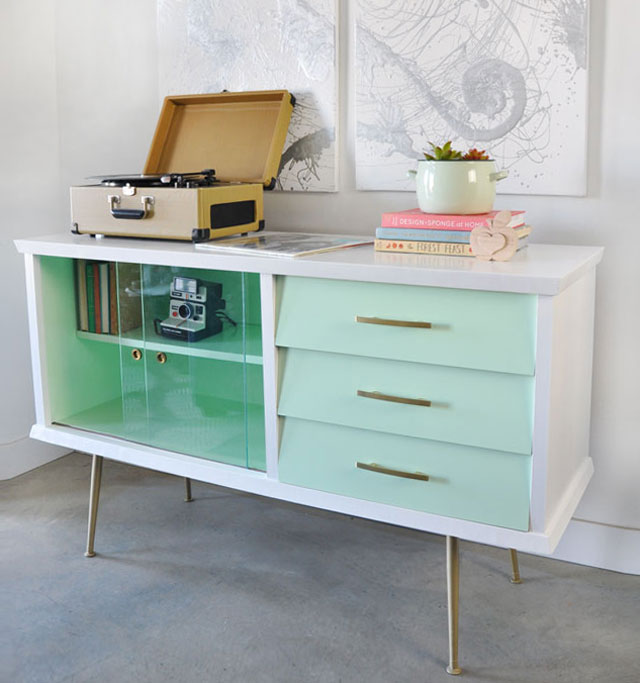
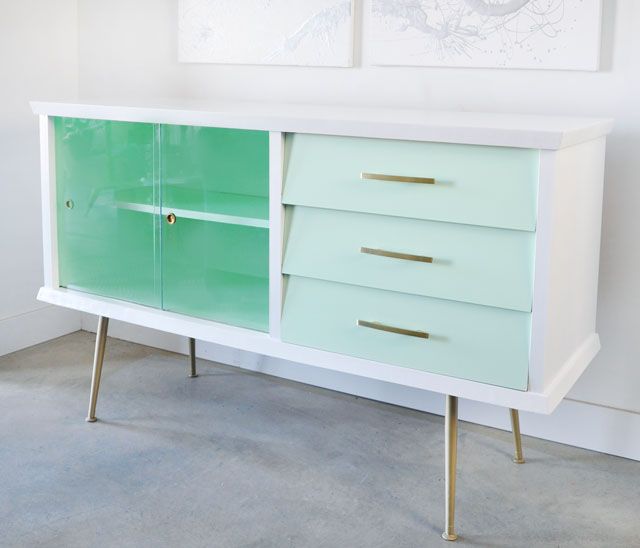
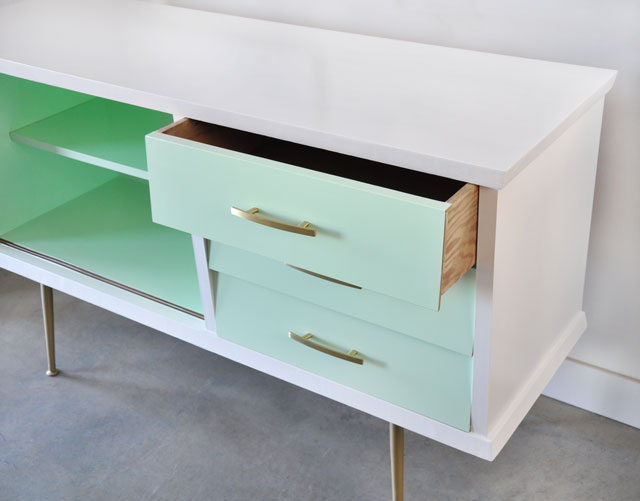
Once the primer is dry, it’s ready for top coat. For this piece I used Benjamin Moore Advance high gloss in Mantis Green and Snowfall White for the body. Advance is best applied with a small foam roller in thin coats, allowing plenty of drying time between coats. This paint is self levelling so the final finish should be very smooth if you don’t overly roll it and keep coats thin.
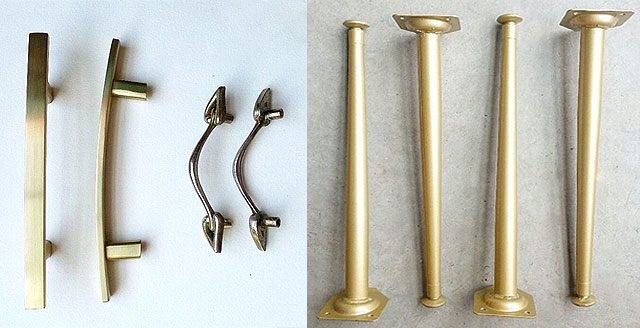
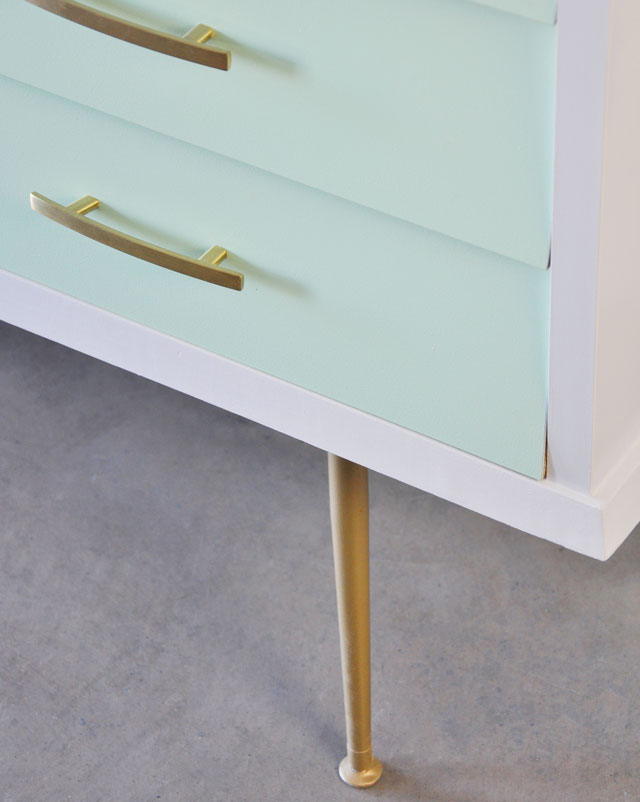
These modern drawer pulls were such a score, I was looking online for modern brass or gold hardware, but most were just way too expensive and I’d have to pay shipping too, plus wait several weeks for it to arrive, so I visited my local Home Depot to see what they had. I like to be thrifty and keep costs down, but I don’t like to sacrifice style while doing it. I was totally shocked to find these gems. Plus they’re larger than the old hardware so the drawers are now easier to open because you can get more than 1 finger in there.
The legs were lightly sanded to remove dirt and some of that ugly brown paint and Rustoleum gold spray paint was applied to match the new modern hardware.
Here’s the final results:

AMAZING <3 as always! I was waiting for these photos for ages and was even keeping my fingers cross for some sunshine for you:)
haha you’re too funny Eliz, it was just a case of procrastination and life getting in the way, but it’s finally done! Now I have to hunt for a new piece 🙂
That looks amazing! Great color choices. You have a lot of vision, Nicole.
Thanks so much Heidi, that really means a lot to me.
That is just exquisite……..
Thanks Niamh!
Oh thank god I found you!! I’ve been searching and search for techniques to help restore some of my mid century finds, and my heart was hurting seeing some of the most proud designer pieces transformed To such a point that I swear I could see the sadness emanating from the teak, below 8 layers of slapped on multicoloured paint.
Your work is perfection and I feel better about the world now 🙂
Thanks for the kind words Kelly! I try to restore wood as best as possible, but I mostly pick out old rough plywood pieces that aren’t real teak, so I don’t feel bad painting them! I actually prefer doing this, because it saves them from the trash. Plus plywood furniture from the 50s, 60s and 70s was built so well!
I love this I love mint green so much this is amazing it’s perfect wanting something like this for my room ??
You’ve got an adorable sense for colours! Elegant! Wonderful!
Jutta
Your pieces are awesome, is there any way I can buy some off of you? 🙂
Hi Kenzie,
Thanks for the kind words! Unfortunately, everything you see on my site has already been sold. I haven’t had a new project in many months and I only sell locally in Vancouver, Canada. So if you’re local, please keep an eye out on my Instagram for new projects. Find me on there @visualheart or follow my facebook page, just search for “visual heart designs” When I get new projects I post them over there.