I found a very small sideboard a while ago that had good bones. Made from solid plywood and even had glass sliding doors. The base was solid so the first thing I thought of was, yes! I can attach legs to this.
The plan was to take this frumpy sideboard and make it modern vintage. Painted vintage furniture should only be done on plywood or veneers that can’t be salvaged. If the piece is solid wood, consider trying to refinish it or get a professional to help. I’d never ever paint teak, walnut or any solid wood.
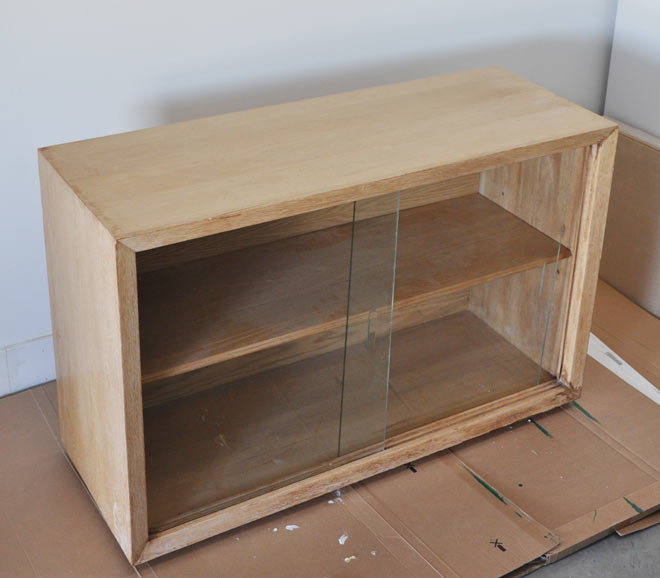
Here’s the frumpy dumpy before:
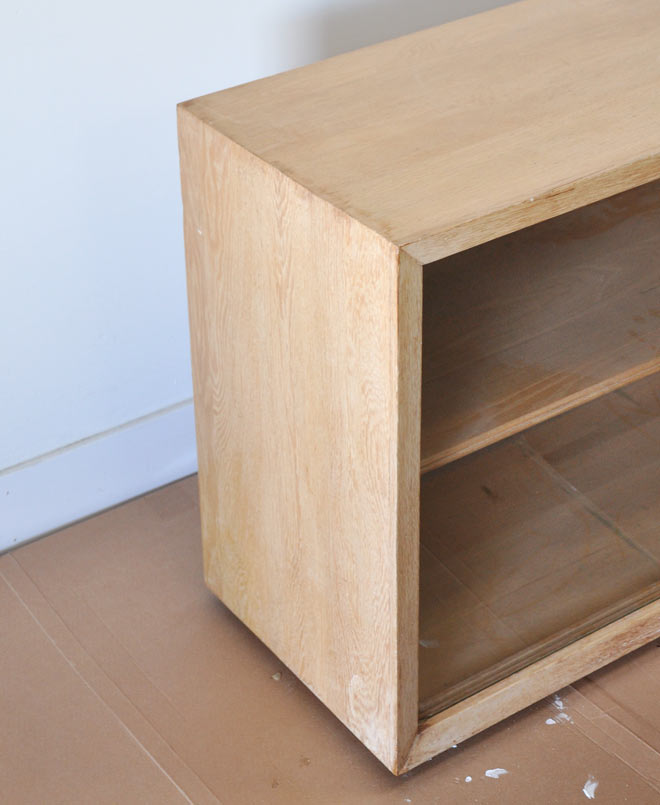
That’s some seriously nasty water stains!!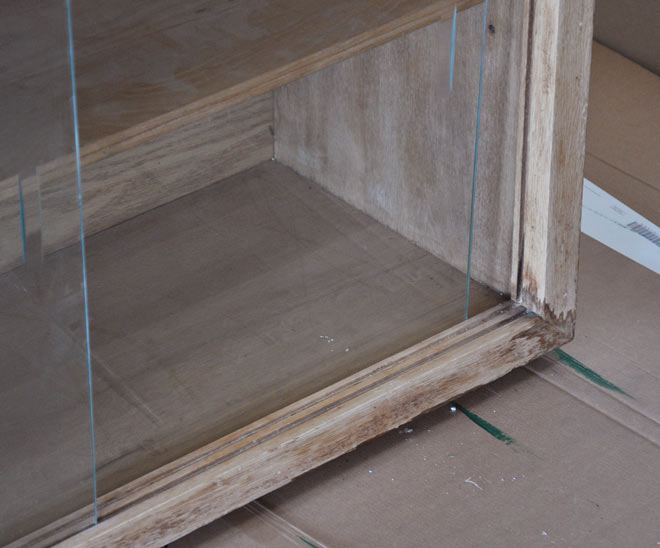
 The first step for this painted vintage sideboard is to clean the entire thing with a damp rag and mild soap. Once it’s dry, give it a light sanding, clean it again and let it dry. Then prime the entire thing with CIL Smart 3 Primer, it seals in bad smells, oils and stains. This must be applied in thin coats with a foam roller. The photo below shows the first coat of primer going on. I also picked out some legs. Apologies for how bad quality that shot is, that’s what happens when you work on it at night and want to record progress!
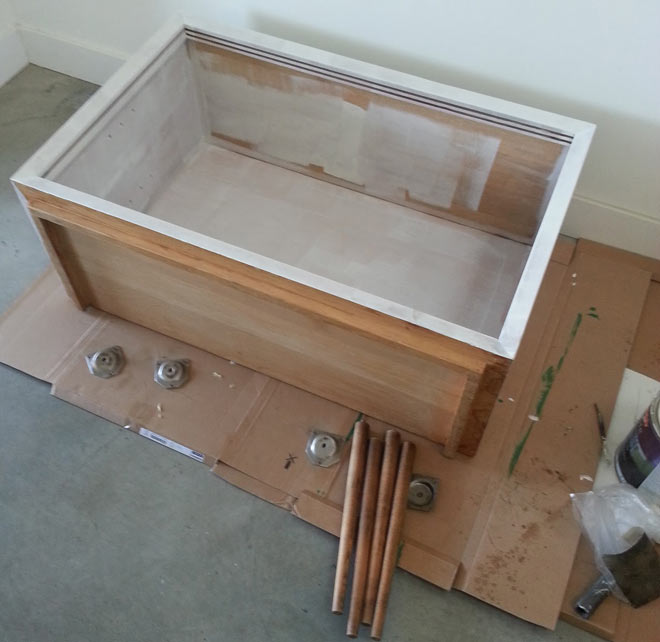 In the end I didn’t end up using the super long legs that are shown in the photo above, the scale wasn’t right, it looked silly and felt like it was going to tip over, so I went with some shorter ones that you can buy from Home Depot.
Time for quality top coat!
The top coat must also be applied in thin coats with a foam roller for a smooth finish. I like to wait at least a day between each coat to prevent chipping.
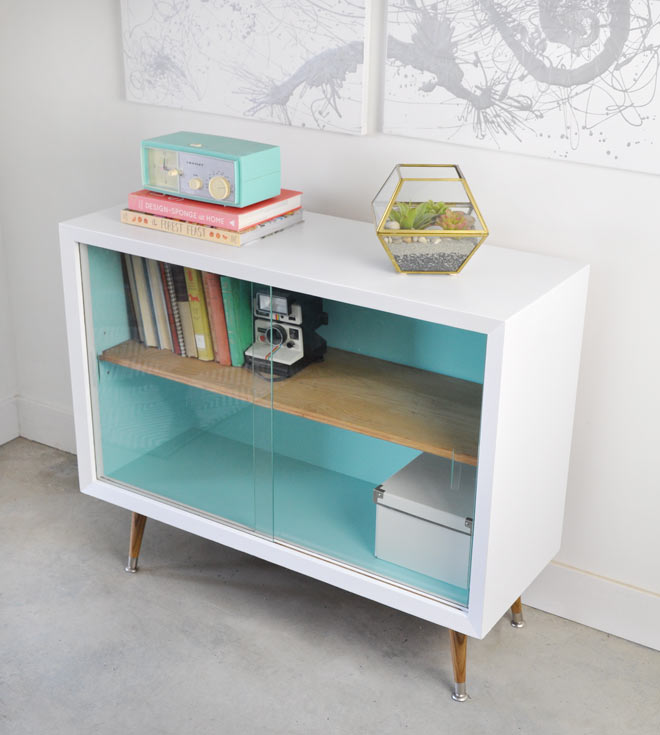
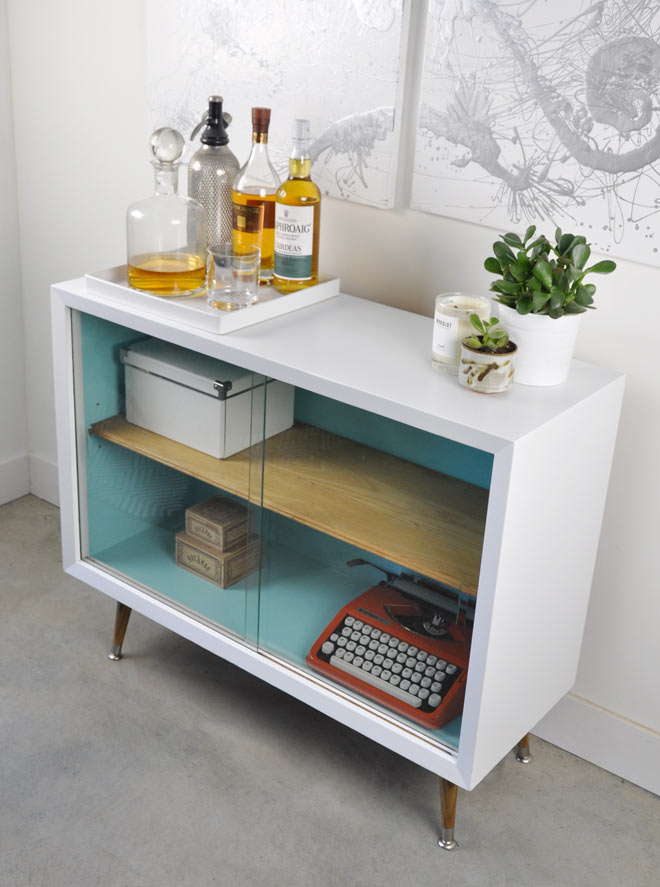
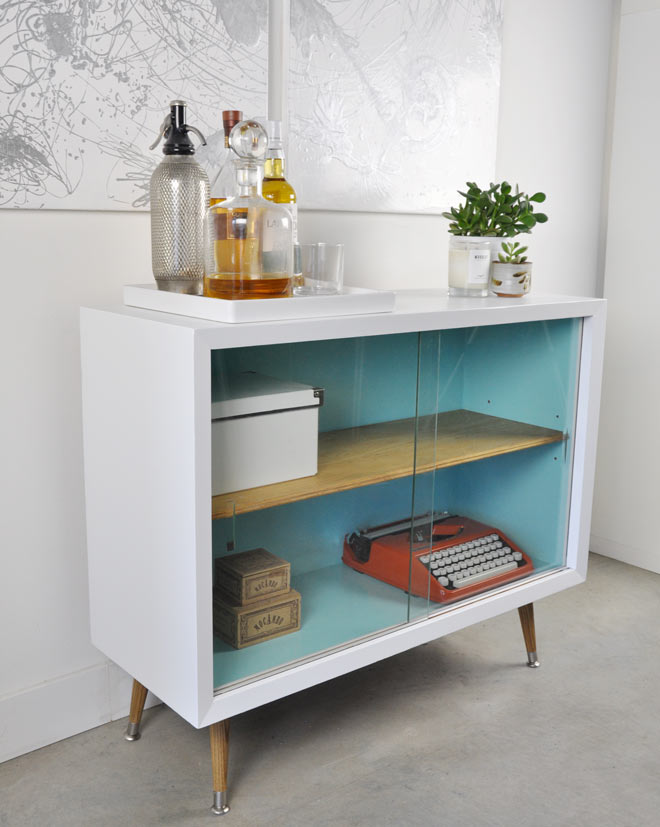
I used Benjamin Moore ‘Tropicana Cabana‘ on the inside in Advance High Gloss and on the outside I used Benjamin Moore ‘Snowfall White‘ in Advance High Gloss. The legs and the shelf were finished with 2 coats of Miniwax teak oil.
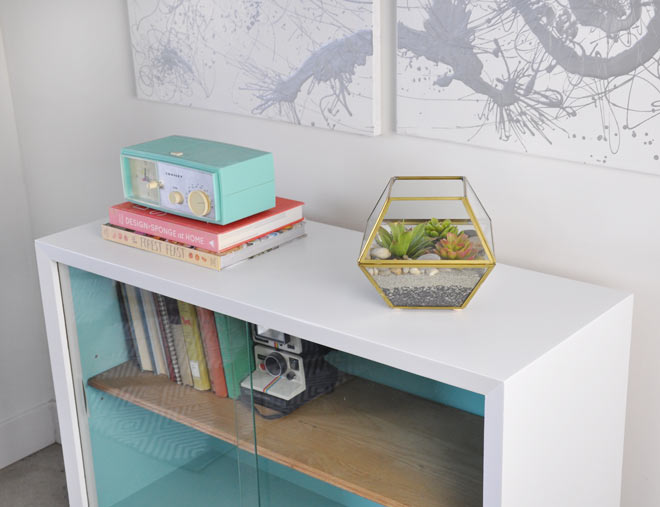
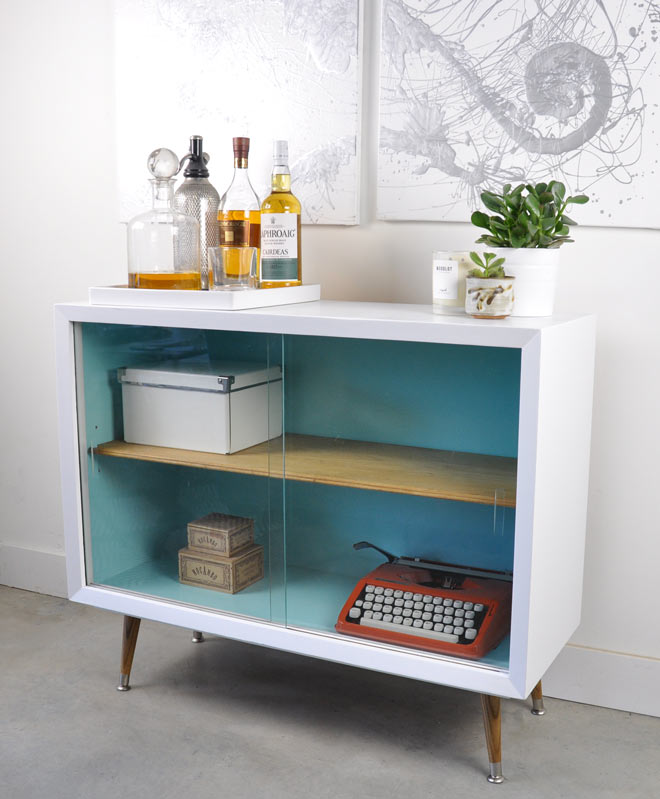
Here’s the after photos of this painted vintage sideboard, bar unit, cabinet:
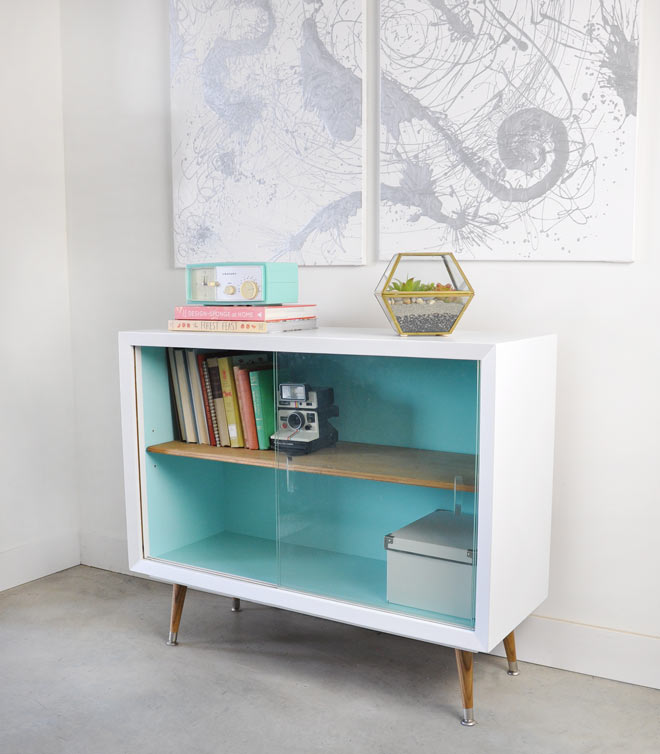


Aw, it’s gorgeous! It looks so stunning with your radio, too!
Thanks Alex!
Do you sand between coats?
I don’t, some people like to, but my preference is not because the brand of paint I use has a smoother finish if you don’t.
Hi, love this! Just wondering how you managed to remove the sliding glass doors without taking the whole cabinet apart so that you could paint the tracks? I’m working on a similar project and have no idea how I will get to the middle of the track where the glass overlaps.
Hi Joanne
Thanks for checking it out! I didn’t actually paint inside the tracks, I didn’t want the paint to rub off over time since the track was made of plastic. I removed the glass doors by gently lifting up the top of the cabinet, it created a bit of a gap so the glass could pop out. It helped to have another pair of hands to take out the glass while I lifted upwards on the top of the cabinet. Since it was made of plywood it has some flex to it. Best of luck!