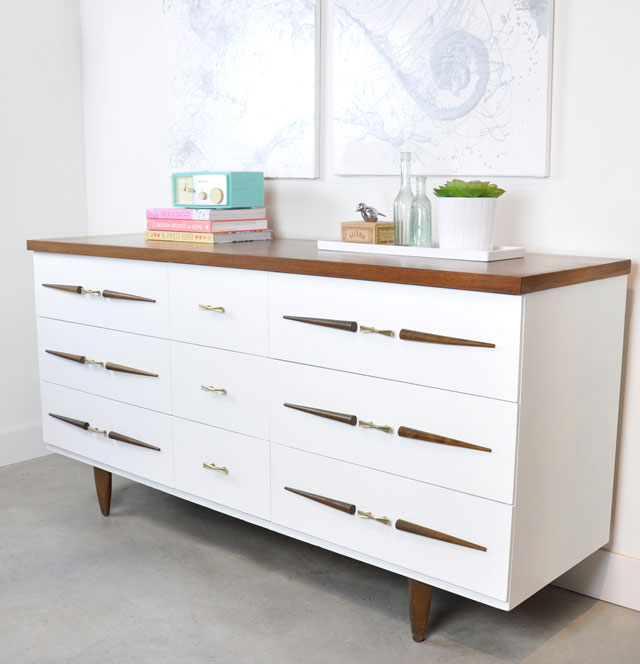
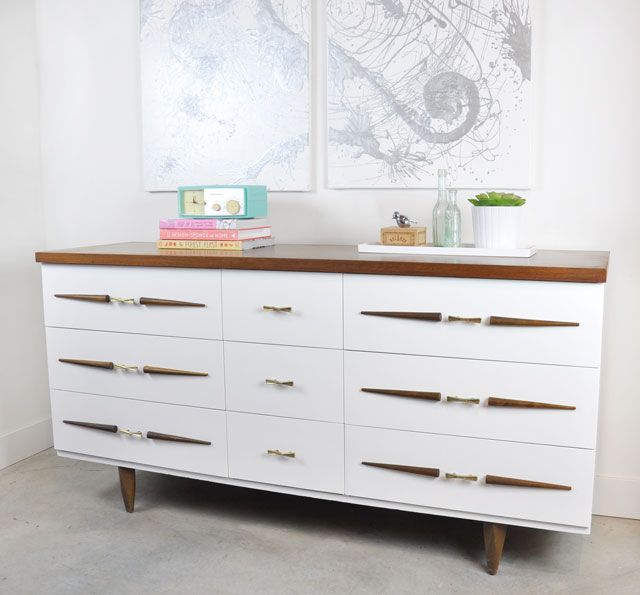
After a few weeks of procrastination during the holidays, we finally finished this vintage dresser project. It’s come a long way since we first got it. It was cleaned, patched and brought back to life.
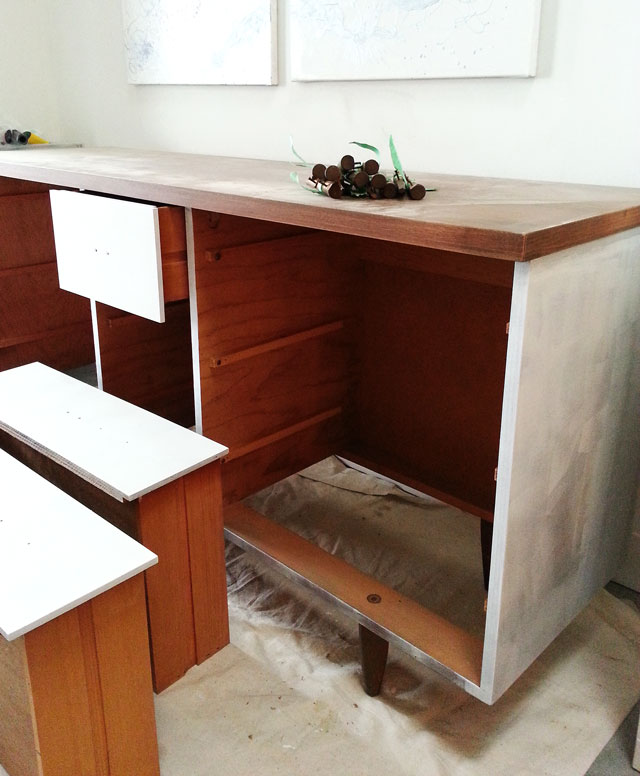
Here’s what it looked like before we started working on it, yes at first glance it doesn’t look too bad, but it was scary. It had 1000 spiders in it from being left outside, so that took a while to get it clean and remove the musty smells.
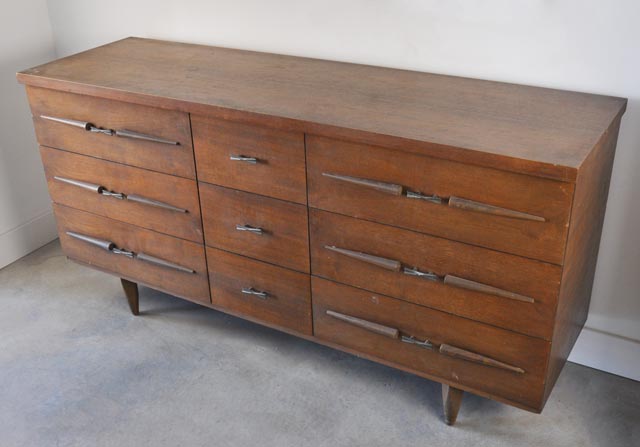
The wood veneer was very dry and chipped in several places, the only area that was in decent shape was the top surface, the legs and the decorative pieces on the drawer fronts.
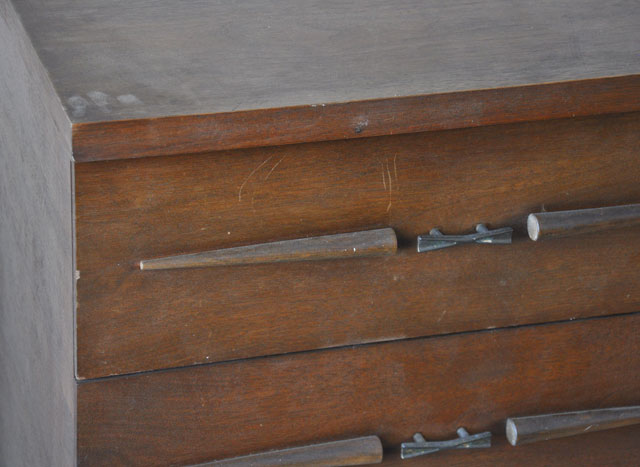
Luckily we were table to remove the decorative pieces on the drawers, making the painting process much easier and cleaner. The bow tie handles were also removed and cleaned up.
The first test was to find out if the vintage hardware was pure brass or just plated. You can do this with a magnet. If it’s solid brass, the magnet will not stick, unfortunately ours was plated.
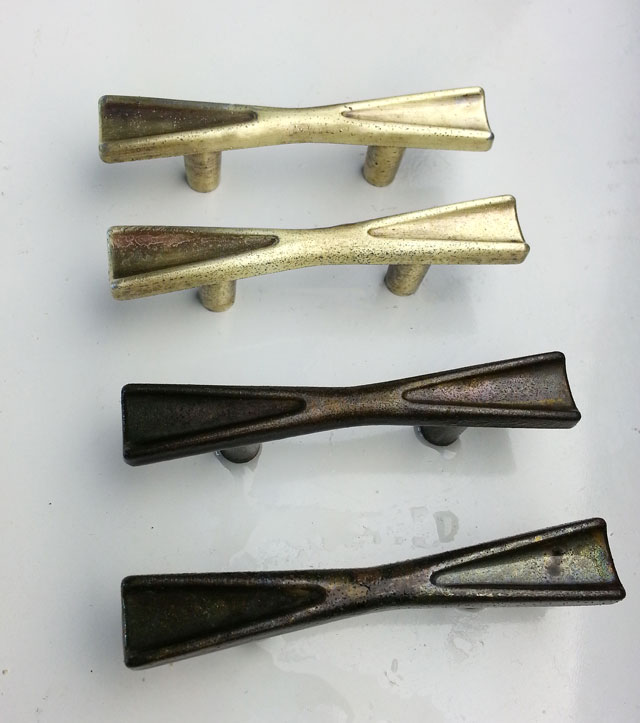
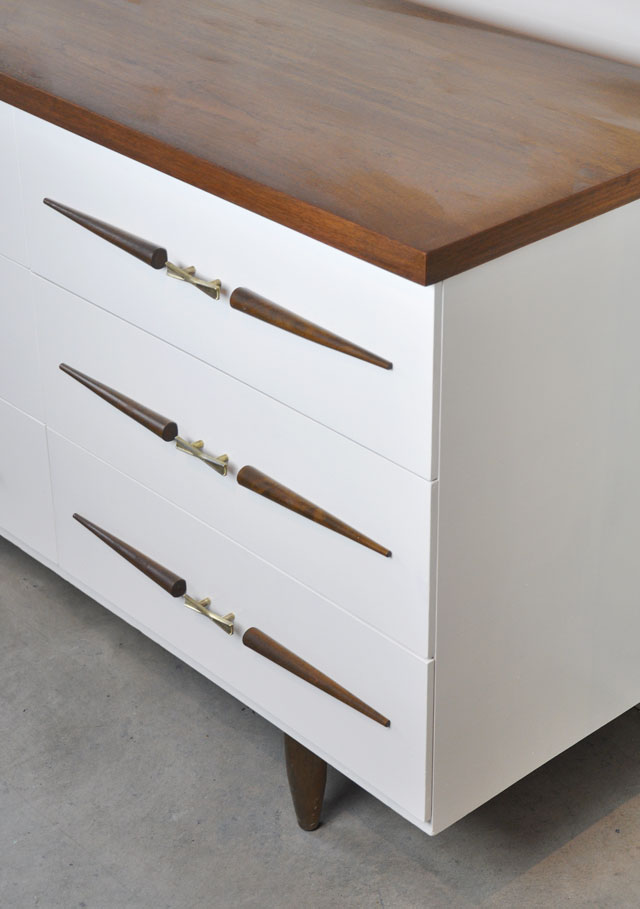
I was determined to keep them brass, I didn’t want to spray paint this super cute vintage hardware, so I soaked them in a mixture of water, baking soda and vinegar. Then scrubbed them gently with a magic eraser and steel wool.
Check out how much brighter they are, although they are really pitted and worn, I’m okay with it because it adds character to the piece. If I wanted to remove the pits in the hardware, I’d end up sanding down too far and exposing the metal underneath since it’s just plated brass.
After cleaning, patching and sanding the entire piece, several coats or primer was applied to the body and drawer fronts.
Once the primer was dry, several thin coats of high gloss Benjamin Moore Advance was applied. I like to use a foam roller to ensure a smooth application. I apply at least 3 thin coats.
Once the paint has set up for a few days (I like to wait a week). Then the hardware and decorative wood trim was put back on.
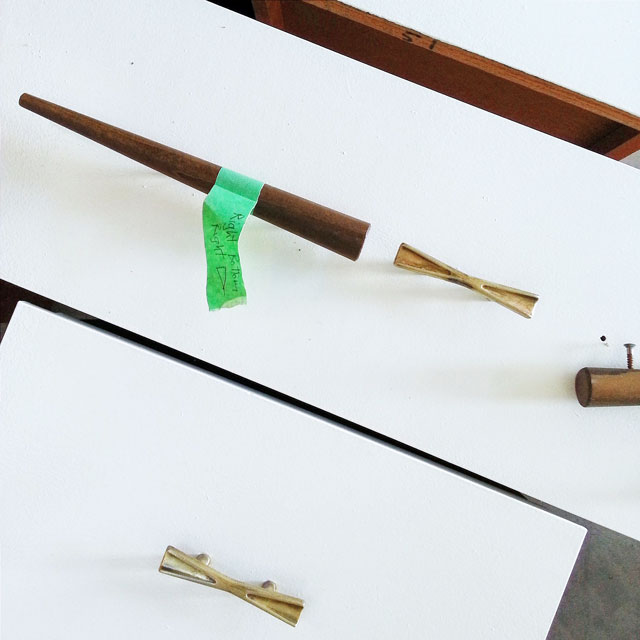
We carefully labelled each piece of wood trim to make sure they went back in the same place, because each one was slightly different and the screws were a little odd, so it had to go back together like a puzzle.
Tung oil was applied in 2 thin coats to the wood top and the legs, this brought out the natural wood tones and didn’t make it too glossy.


Oh this looks sharp. As much as I like your turquoise-painted pieces, and I do, this feels really fresh. Excellent work!
Thanks so much Britta! It’s nice to change things up here and there!
wood and white, my favorite combo! i love, love the way this looks. maybe my favorite piece you’ve done so far!
Thanks so much Emily!
I just saw this on apartment therapy!
I love, love, love how you refinished it! Thanks for letting us know how you brought the hardware back to life. I’ve been debating what to do with the brass hardware from my grandpa’s vintage console radio, this is perfect! thank you!
Hi Alex,
Thanks so much for taking the time to visit my website, glad I could help you out. Best of luck fixing up that vintage radio console, it sounds like a wonderful project.
I LOVE this! If I send you a few picks, can you suggest how I can re-do my dining room table? I really like it and would like to keep it and then purchase matching chairs.
How did you remove the musty smells? My kids are due to inherit a few pieces from their grandparents that have been kept in the garage and now smell musty. Any advice would be greatly appreciated.
Thank-you!
Hi Jo-Anne,
The best way is to remove all the drawers and let the entire piece bake in the sun for a couple of days. Since that’s not usually an option for most people, I find vacuuming the piece and then wiping it down with a mixture of vinegar and water with a couple of drops of lavender oil can help with the smells. Don’t soak the wood in too much water, just enough to wipe the surface clean. Another option is to sprinkle baking soda in each drawer, leave it there for a few days. Baking soda will soak up odd smells, then grab a vacuum and suck up all the baking soda. Last resort is if you plan on painting the piece, use a 3 in 1 primer that locks in smells and stains, this works so well for bad smells, but only if you plan on painting your pieces.
You did a great job! The dresser is gorgeous! I have a very cool vintage dresser at home and I was thinking that I have to do something with it! I will follow your steps and try to clean it good and paint it! I love vintage furniture pieces! 🙂 Thanks for sharing! 🙂