Another painted vintage dresser project completed. This one was literally a beast that was turned into a beauty. It had a horrible faux wood grain finish and tons of chips and since it was made from MDF it was really heavy. The lines and hardware on this piece are awesome, so it was a no brainer to take it home and upcycle it into a more modern and stylish piece of furniture.

After a quick sanding and minor patching, 3 coats of primer were applied. Primer is the key to a solid finish. Always take the time to apply several thin coats and let it dry for plenty of time in between each coat. This will save you the pain of having an uneven finish in the end and it will seal in any oils and other finishes in the wood, plus you’ll use way less top coat. I use CIL primer from Home Depot, it’s affordable and works great on most finishes.

I’ve been painting hardware using all purpose spray paint, but the last project a weird chemical reaction occurred with the metal and strange cracking and bubbling appeared. I was spraying from a far away distance and doing thin coats so I knew that wasn’t the issue, I could only think since the hardware was so worn and the finish was all exposed, the paint was reacting to the metals. This time I decided to try brush on primer and top coat. It went ok, but I can’t say I’d do it again, it was tricky getting a smooth finish even though my top coat paint is self-levelling. I think next time I’d just try a different brand of spray paint and prime before the spray on the top coat.
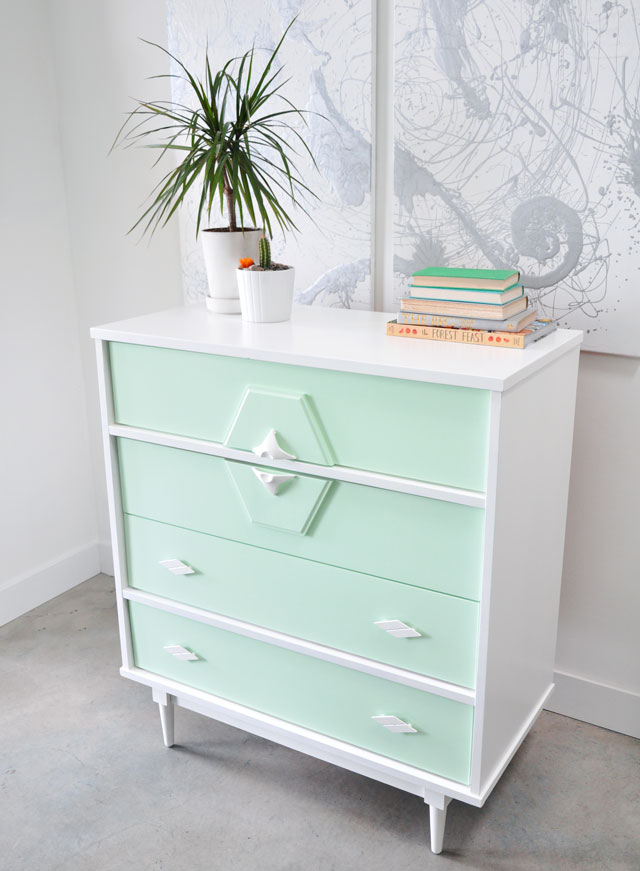
For the final coat I use Benjamin Moore Advance for all my furniture pieces. This paint finishes like an enamel, but it’s water based which makes cleaning up super easy. It’s high-gloss, self-levelling and very durable. The colours for this one are Mantis Green and Snowfall White. It was nice to change up the colour since most of my other pieces have been done in Tropicana Cabana.
Here’s the final result:


Amazing transformation! I really love the colours, and the finish looks great! How well do painted finishes hold up? I have a piece made of faux wood, found at the dump still in excellent condition that currently holds kids games etc. It could have been a cabinet that held electronics, etc. I want to paint it as well. I recently happened upon Annie Sloan Chalk Paint, have you used it? Not sure what to do, any advice? Thanks!
Jayne
Hi Jayne
I’ve never used chalk paint before. I personally prefer the look of high gloss clean finish, something I can wipe down with a damp cloth. I don’t like the look of shabby chic that most people do with chalk paint. If you’re looking for a durable finish I’d recommend the paint I mentioned above in my post. Benjamin Moore is worth the price, especially their Advance line, it’s made for furniture. Good luck!
Pingback: Painted Furniture Ideas
Pingback: Before and After: Vintage Side Table - visualheart
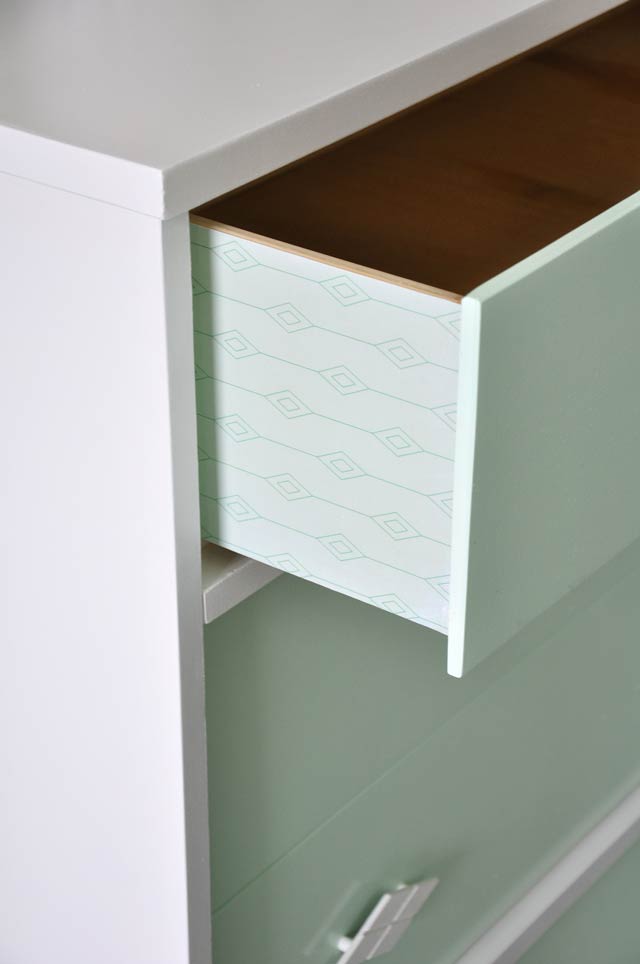
Nice one! I like it a lot:) what did you use on the side of the drawer? Is this a decal or sticker on the side? Thanks, B
It’s paper and applied to the sides with mod podge glue.
Thanks!
Pingback: Fabulous Mint Makeovers - brepurposed
Pingback: Creative DIY Painted Furniture Ideas - Flux Decor
Pingback: Amazing DIY Painted Furniture Ideas
Simply superb! Absolutely love the style of the original piece, the paint finish, the styling of the white and mint colours together. I just love everything about this. Well done. I am curious as to why you didn’t polish up the hardware and chose to paint then white? Looks great. Not something I would have thought of.
Thanks for the lovely comment Mina! I decided to paint the hardware white because they were in really bad shape. They aren’t solid brass, they were plated and a lot of the plating had come off so they were chipped and scratched, I guess that doesn’t really show in the photo, but it was bad. So polishing wasn’t an option, but quality spray paint gave them a new life!