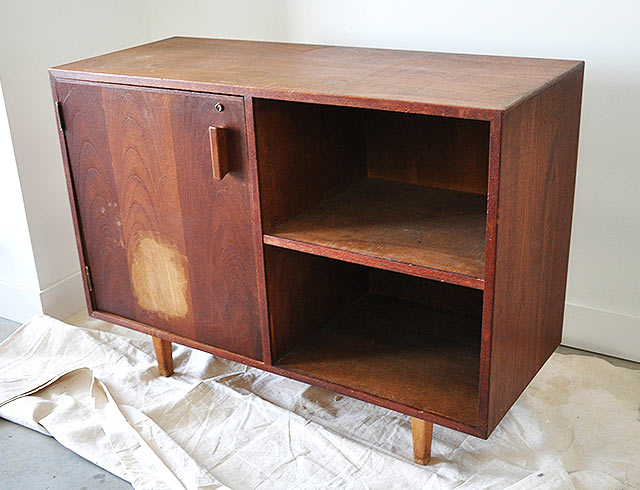
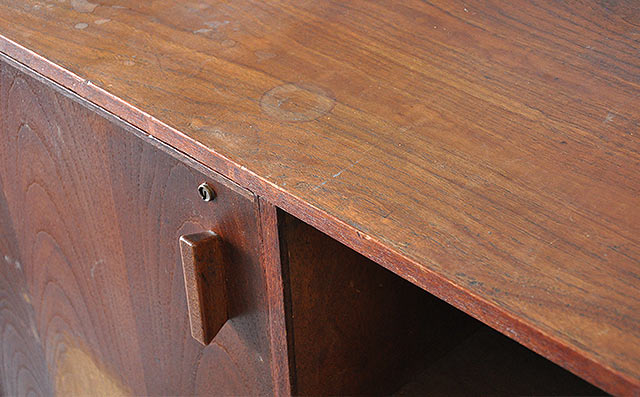
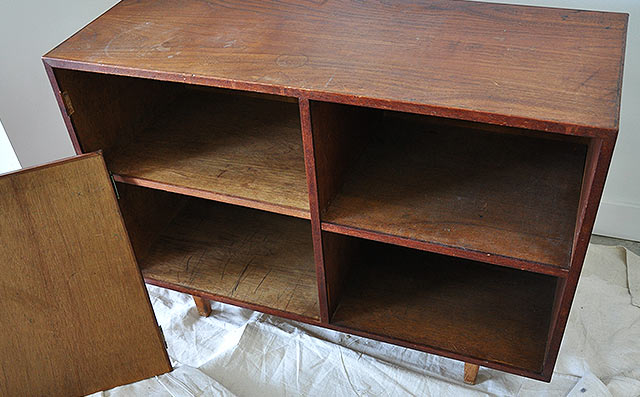
My latest find was a mid-century modern cabinet which originally came from a local art gallery, it was in rough shape with really dry wood veneer and a broken door. Not only was the door broken, but I later discovered that the entire unit was warped (including the door). Andrew ended up sanding off a small section of the door so it could close smoothly, he also had to clamp it to a flat surface to correct the warp as much as possible. Off topic – how cute is that tiny lock above the handle!
The entire cabinet was primed with several coats of white, it was crazy how much the old wood veneer soaked up the paint like a sponge. 3 coats later, the surface was finally ready for me to apply the final coat. I used Benjamin Moore Advance series. This paint is perfect for furniture, it’s high-gloss and self levelling, allowing for a very smooth finish when applied with a mini roller. For this project I used Snowfall White and Tropicana Cabana.
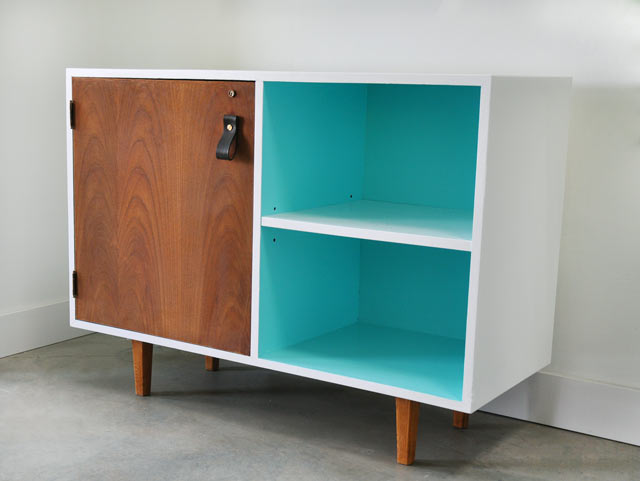
I liked one of my previous makeovers so much I decided to go with that style and paint the interior blue, it’s a nice way to add colour without being too obnoxious.
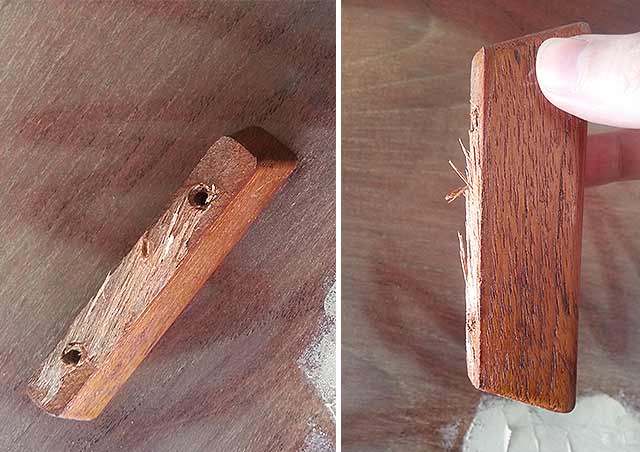
The legs were in decent enough condition so I opted to leave them wood if they ended up having similar wood tones as the door once the old stain was removed. The door was an issue, I removed the handle, but sadly a big chunk of the wood veneer came off with it, because it was screwed on as well as glued with some kind of super glue! At this point I thought for sure there was no way we could salvage the wood door. There was a big hole that needed to be filled and obviously it wasn’t going to match the original veneer, so I thought we had to paint it, there was no other option. Andrew thought we could sand it down and put a wide handle over it to try and hide it, but after trying that, we knew it would still be visible, plus it would also look like we were trying to hide it.
We both really wanted to salvage the wood grain, so I searched around for some ideas…and couldn’t find anything I loved and that would work for this situation. After some experimenting I decided to go with a leather door pull. I grabbed an old leather belt from the local thrift store and some brass screws from Home Depot and figured it out from there. It was fairly simple to make and I think it turned out pretty good! The best part, it sits flat against the door and hides all the imperfections from the old handle!
Click here for a tutorial and supplies needed to make your own leather furniture pulls.
Once the door was coated with tung oil and the drawer pull was attached, it all came together. We kept the legs wood even though they were lighter, it picks up the lighter tones in the grain on the door and it’s a nice contrast to all the white.


gorgeous update! and good to know about the benjamin moore advance line…i’m getting ready to paint my own dresser and this will be perfect for it!
thanks Emily! Good luck with your project!
Bravo! Thanks for the tip about Benjamin Moore paint, will give it a try. Looking forward to your tutorial on leather pulls.
Thanks Kathy, that paint is expensive but really worth it, especially since I don’t have access to a space to spray my projects.
Pingback: DIY: Leather Furniture Pull Tutorial | visualheart
Pingback: DIY Leather Furniture Pull Tutorial | visualheart
Hi Nicole,
An awesome and helpful post. I am getting ready to paint my dining table top. It is a sealed wood and I have no clue how to go about it. Would the same things and products apply to that too? Are you able to give a “list” of materials so novices like me can get a brush/roller right? Would you suggest sealing after the final coat of paint. Thanks in advance 🙂
Best,
Hena
Hi Hena
Materials are listed throughout my posts, top coat high gloss paint is from Benjamin Moore Advance. I like to use 3 in 1 primer from CIL at Home Depot. Make sure to sand the surface very well to make it free to dirt and varnish. Apply paint with a small good quality foam roller. No need to finish with a sealer if you use Benjamin Moore Advance in high gloss. Hope that helps. Good luck!
Thanks so much Nicole! I will try it out 🙂